Creation of your dataset in JSON format
Datasets in JSON format are used to populate the templates.
These are the data that will replace the {} tags in your template.
The datasets are generated from Axelor models, but it is also possible to add your own tags to the JSON.
The creation of these datasets is done from the menu Template > Template settings.
It is necessary to create a setting for each business object used (Company, Address, City, etc).
This is where we ask our template to replace the tags with JSON variables. This data is entered in the template setting.
To create your template setting, click on the + button (at the top left on the grid view).

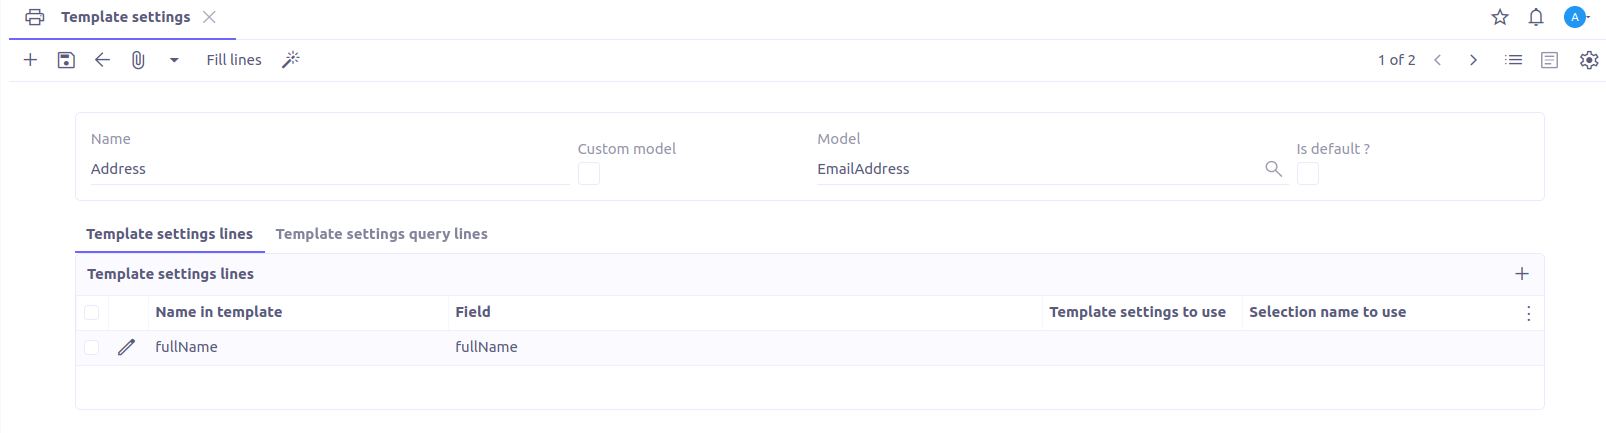
Here is the user interface for creating your template setting:
-
Name: Name of the template setting.
-
Model: This is the object in Axelor that we wish to target to retrieve its attributes, which will be used in our template print model.
-
Is default?: Allows defining our template setting as a reference.
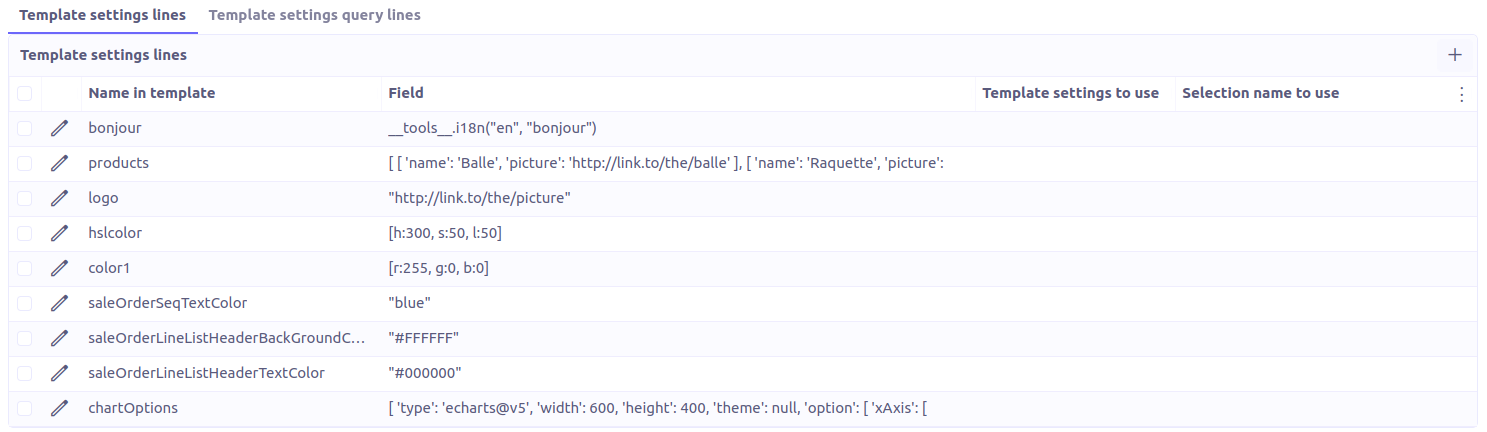
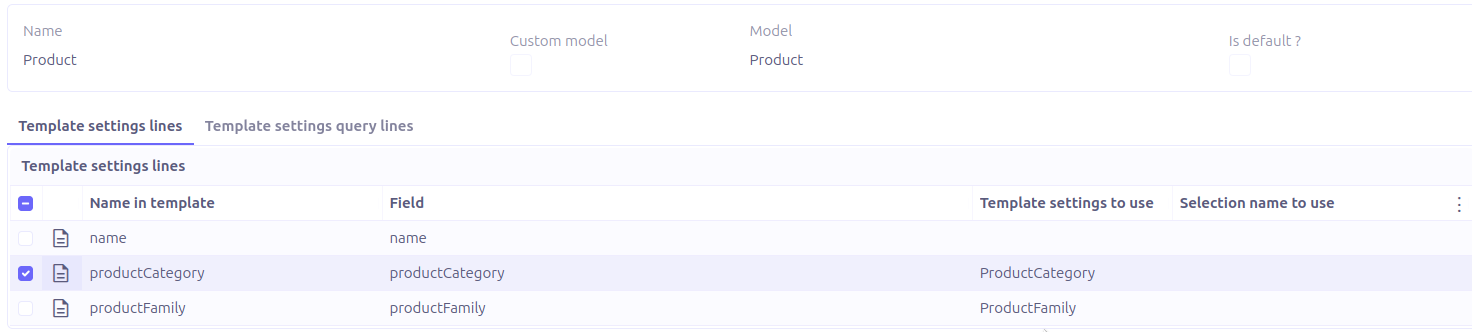
The template setting lines represent the structure of our JSON. The list of template setting lines should ideally contain only the fields which are really used in the template. There are several ways to fill this list.
Option 1. Manually
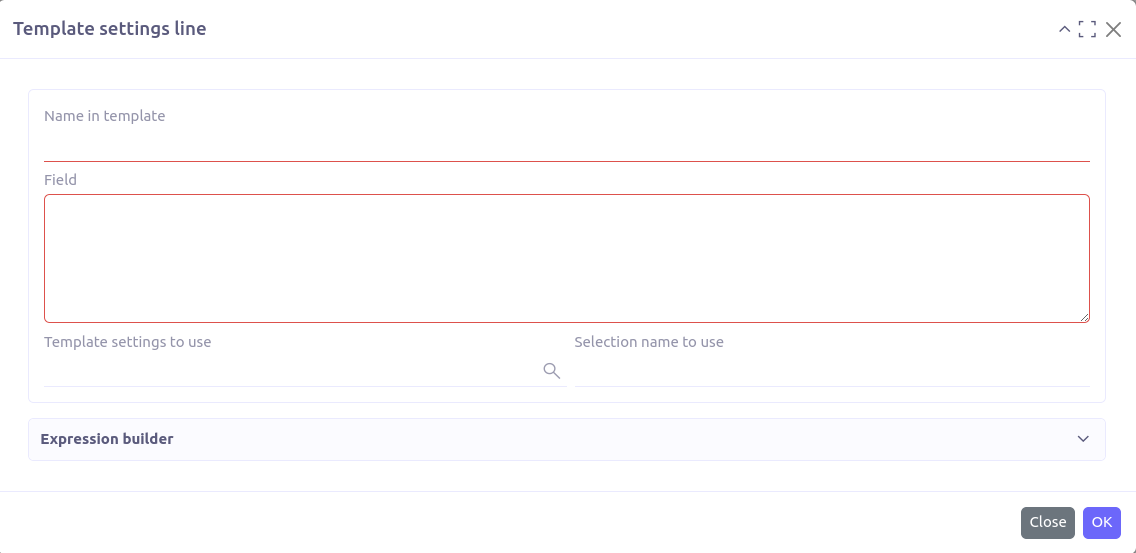
To add a line manually, click on '+ New'. A pop-up opens:
-
Name in template: Attribute name in JSON.
-
Field: Simple or pointed database field, this is the value linked to the attribute. To fill in this field, you must respect the groovy syntax.
-
Template setting to use: In the case of relational fields, you must define a setting for the corresponding object and enter it there.
-
Selection to use: In the case of selection type fields, you must enter the name of the selection associated with the field in the domain definition.
Option 2. Fill lines
By clicking on Fill lines,
all the fields are automatically added by taking the attributes of the MetaModel selected before.
You must then delete those which are not used.

| We discourage the use of this option because it loads all the fields instead of only the necessary ones. This can have significant impacts on performance and disk space usage. We recommend using the Automatic configuration option. |
Option 3. Automatic configuration
This option allows the automatic generation of template setting configuration based on the provided document.
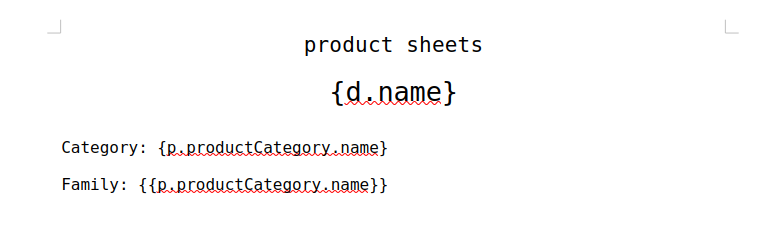
Let’s see how we can automatically configure the template setting for the sample template below:
-
Open your template setting. Fill the Name and the Model.
-
Click on Automatic configuration.

-
In the popup view, upload the template file.
-
Click on OK. And voilà, the setting is generated!
Option 4. Query line template
Query line templates allow retrieving custom data from objects that are not directly related.
Example
Use case: Fetch objects displayed by an action-view inside a panel-dashlet.
Models structure
-
BudgetDistribution (invoiceLine: InvoiceLine)
-
InvoiceLine (invoice: Invoice)
-
Invoice (id: Long)
XML configuration
<panel-dashlet name="budgetDistributionPanel" action="action.invoice.view.list.budget.distributions"/>
<action-view name="action.invoice.view.list.budget.distributions" model="com.axelor.apps.account.db.BudgetDistribution" title="Budget distributions">
<view type="form" name="budget-distribution-form"/>
<view type="grid" name="budget-distribution-grid"/>
<domain>self.invoiceLine.invoice = :invoiceId</domain>
<context name="invoiceId" expr="eval: id"/>
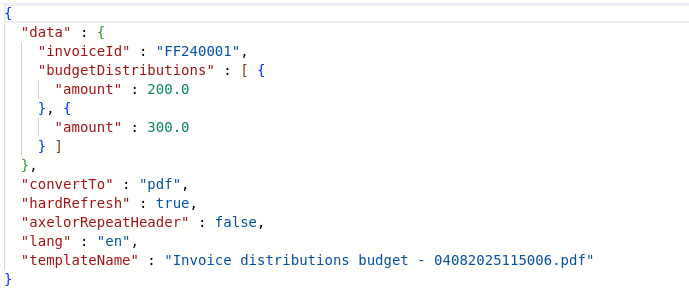
</action-view>In this scenario, to display the list of BudgetDistribution entries in the Invoice form, you need to configure the query line to traverse the indirect relationship chain accordingly.
The query line configuration
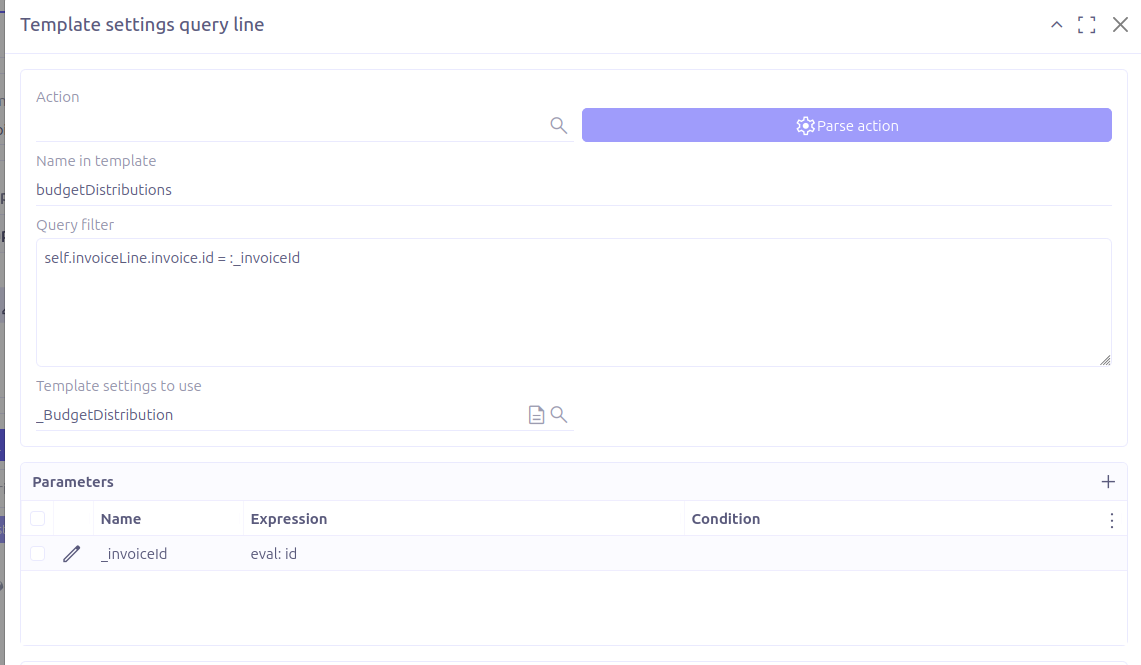
In the displayed form, you can select the action action.invoice.view.list.budget.distributions, then click on Parse action button to fill all the field automatically.
-
Name in template: The attribute name to use in the generated JSON. If the configuration is generated from an
action-view, this field is automatically computed from its name, but it should be adjusted to match the structure expected in the document. -
Query filter: The domain expression used to filter the target objects based on specific criteria.
-
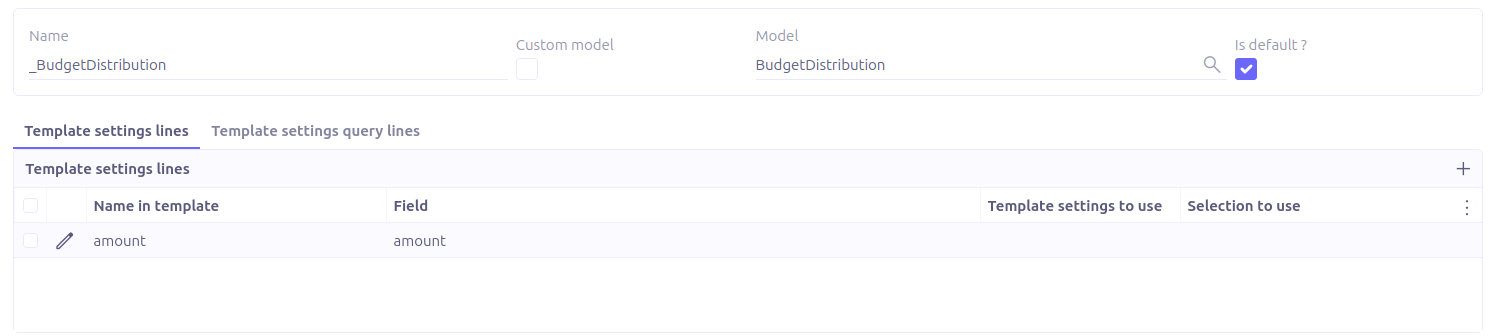
Template setting to use: Refers to the unrelated object to retrieve. The generated JSON will include only the fields defined in the selected template setting.
-
Parameters: If the query filter uses dynamic parameters, they should be defined in this section.
RPC
RPCs can be used to compute complex and dynamic data.
Configuration
Configuring an RPC requires:
-
Creating a controller that computes the data
-
Registering the RPC in the template settings
Creating the Controller
Create a controller method responsible for computing the required data and returning it in the response payload.
public void doSomething(ActionRequest request, ActionResponse response) {
    Partner partner = request.getContext().asType(Partner.class);
    Map<String, Object> data = new HashMap<>();

    List<Order> orders = getOrders(partner);
    BigDecimal ca = getCA(partner);

    data.put("orders", orders);
    data.put("ca", ca);

    response.setData(data);
}
The data returned via response.setData(…) is made available during document generation.
Registering the RPC
Once the controller method is implemented, the RPC must be declared in the template settings.
In the TemplateSetting form view:
-
Open the RPC tab
-
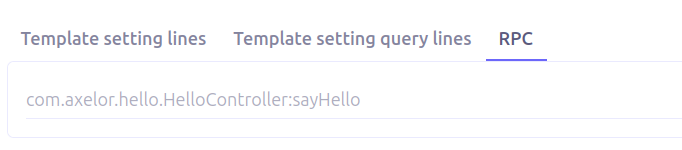
Add the fully qualified controller method path
path.to.controller.ControllerName:doSomething
Use Case Example
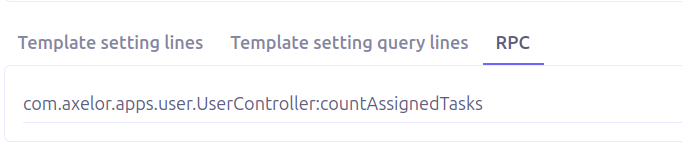
This example demonstrates how to retrieve the list of tasks assigned to a user.
Controller Implementation
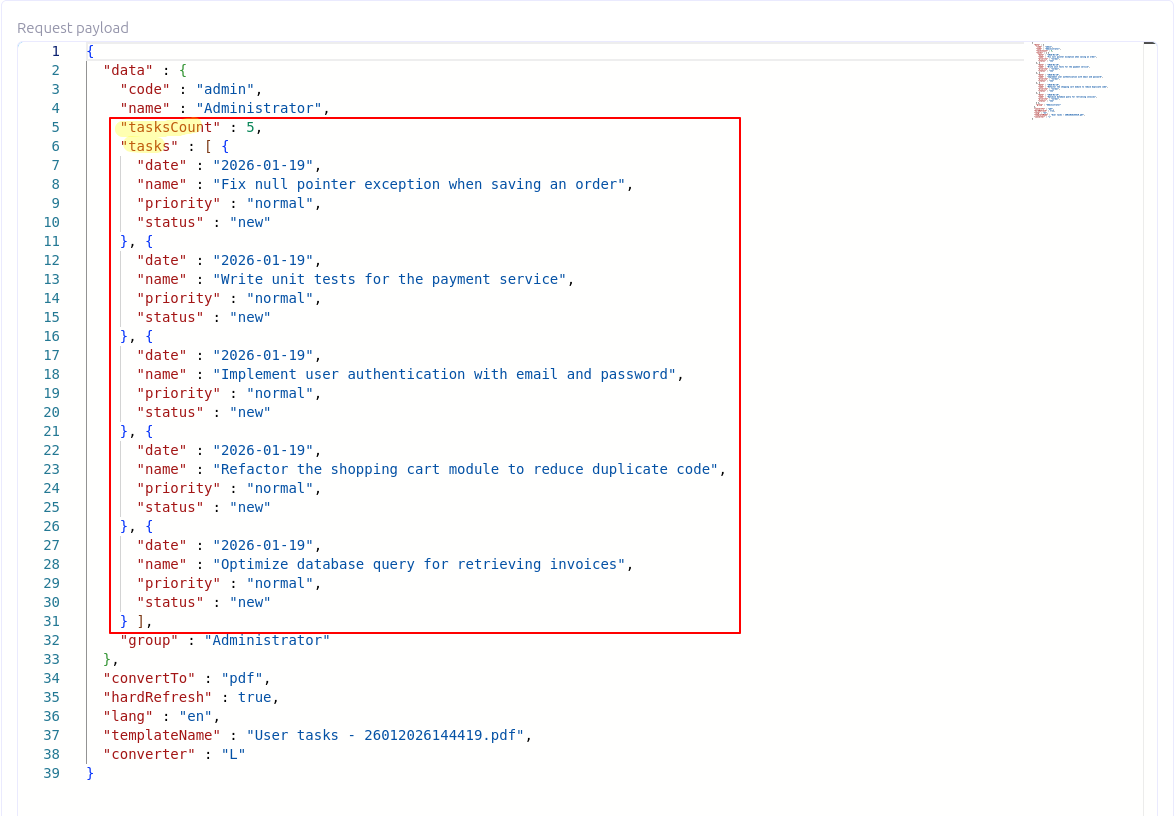
The controller computes:
-
The number of tasks assigned to the user
-
A detailed list of assigned tasks
public class UserController {

    public void countAssignedTasks(ActionRequest request, ActionResponse response) {
        User user = request.getContext().asType(User.class);

        Query<TeamTask> teamTaskQuery = Beans.get(TeamTaskRepository.class)
            .all()
            .filter("self.assignedTo.id = :assignedTo")
            .bind("assignedTo", user.getId());

        long assignedTasksCount = teamTaskQuery.count();

        List<TeamTask> teamTaskList = teamTaskQuery.fetch();
        Set<Map<String, String>> tasks = teamTaskList.stream()
            .map(teamTask -> {
                Map<String, String> taskMap = new HashMap<>();
                taskMap.put("name", teamTask.getName());
                taskMap.put("priority", teamTask.getPriority());
                taskMap.put("date", teamTask.getTaskDate().toString());
                taskMap.put("status", teamTask.getStatus());
                return taskMap;
            })
            .collect(Collectors.toSet());

        Map<String, Object> data = new HashMap<>();
        data.put("tasksCount", assignedTasksCount);
        data.put("tasks", tasks);

        response.setData(data);
    }
}
then register the RPC in the Template setting
Advanced tools
Complement
Complement refers to complementary data provided as an advanced option.
It is accessible in the template using the {c.varName} tag.
Complement data can be used to override predefined Carbone variables, such as {c.now}, allowing you to replace the current date with a custom value.
Complement data works the same way as Template setting lines and can also access the context.

Enums
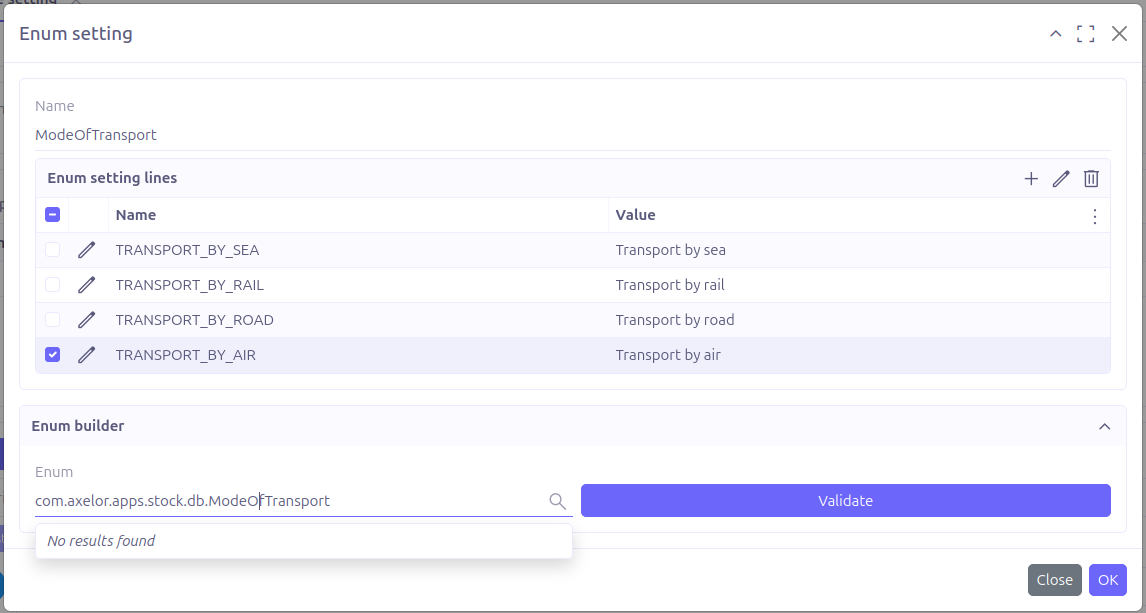
Enums provide a way to handle enum fields by displaying appropriate messages based on enum constants.

-
Name: the enumeration name
Each enum constant must be defined in an Enum setting line:
-
Name: the constant name
-
Value: the text that will replace the enum constant in the template
|
If your enum is defined within XML and stored in the database, you can rely on Enum Builder to generate the enumeration lines. |
Checkout Carbone documentation about enums usage.
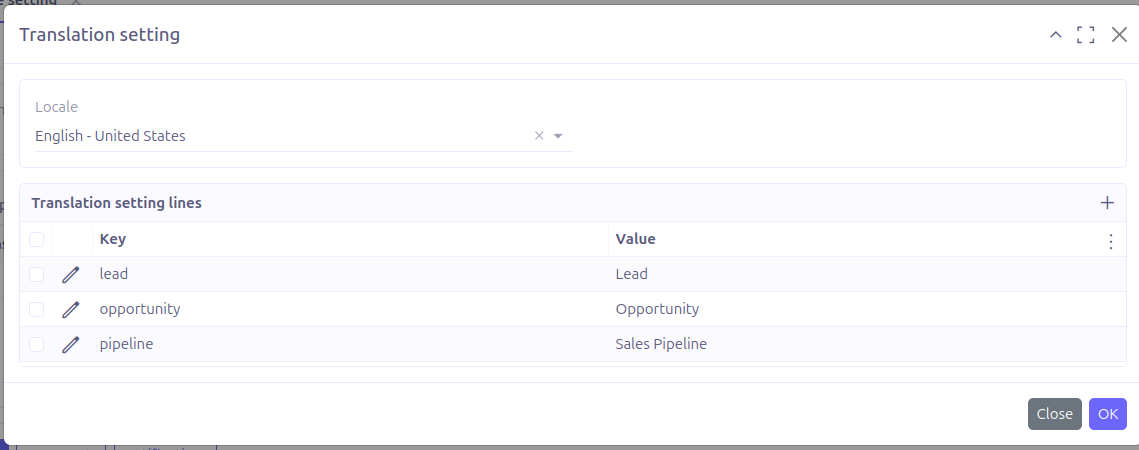
Translation
It is now possible to add custom locale translations to templates using Translation setting lines.

On each line, you can add as much as possible of Key/values
-
Locale: the target locale of translation. by default, the following options are supported:
-
English - United States (en-us)
-
English - United Kingdom (en-gb)
-
French - France (fr-fr)
-
French - Belgium (fr-be)
-
French - Switzerland (fr-ch)
-
Arabic - Morocco (ar-ma)
-
-
Key: the key that will be used to get the proper translation
-
Value: translation value
Checkout carbone documentation for more details