Creation of your printing model
To create your template print model, click on the + button (at the top left on the grid view).

General information

-
Name: The name of the print model.
-
Rendering conversion format: This is the target extension for the documents generated with this template. The default conversion format is set to PDF.
-
Language of the generated document: The locale to apply when formatting data.
Fill the fields and go to the next step.
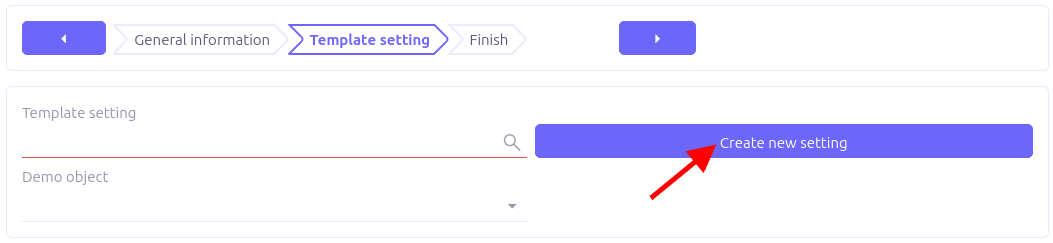
Template setting
Here, the form view allows you to link the settings, therefore the JSON data and the model.
-
Template setting: This corresponds to the name of the linked template setting.
-
Demo object: This corresponds to a record of the model chosen in the linked template setting. It is optional and will be used only for the preview.
You can select an existing template setting or create a new one. Let’s click on the button to create a new template setting:
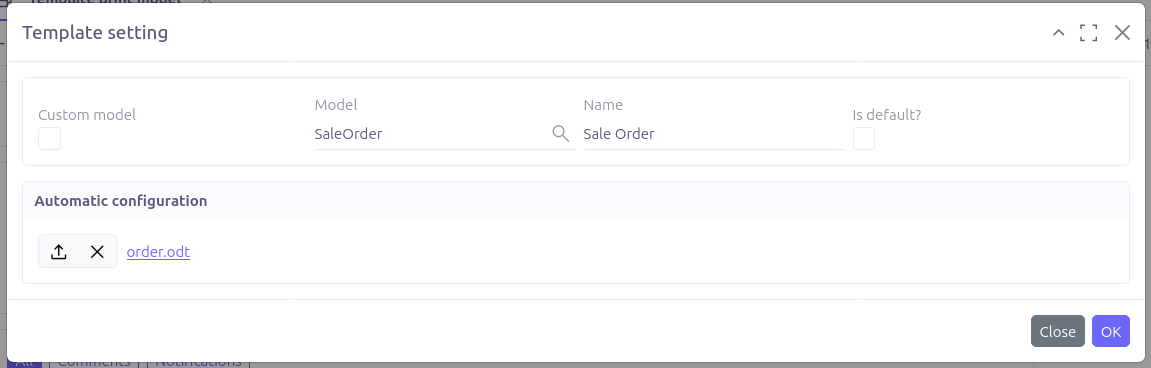
Fill the popup with requested information:
-
Custom model: Whether you want to use custom JSON model or not
-
Model: Select the business object on which the template applies.
-
Name: Write down any meaningful name.
-
Is default: Make this setting the default one, for automatic reuse.
-
Automatic configuration: This is where you upload your template file. It will be used to generate automatically the setting lines.
Validate and select a record of the target business object:

Go to the next step.
Template Studio
If you have uploaded the document in the Automatic configuration then it will be previewed directly on the embedded studio:
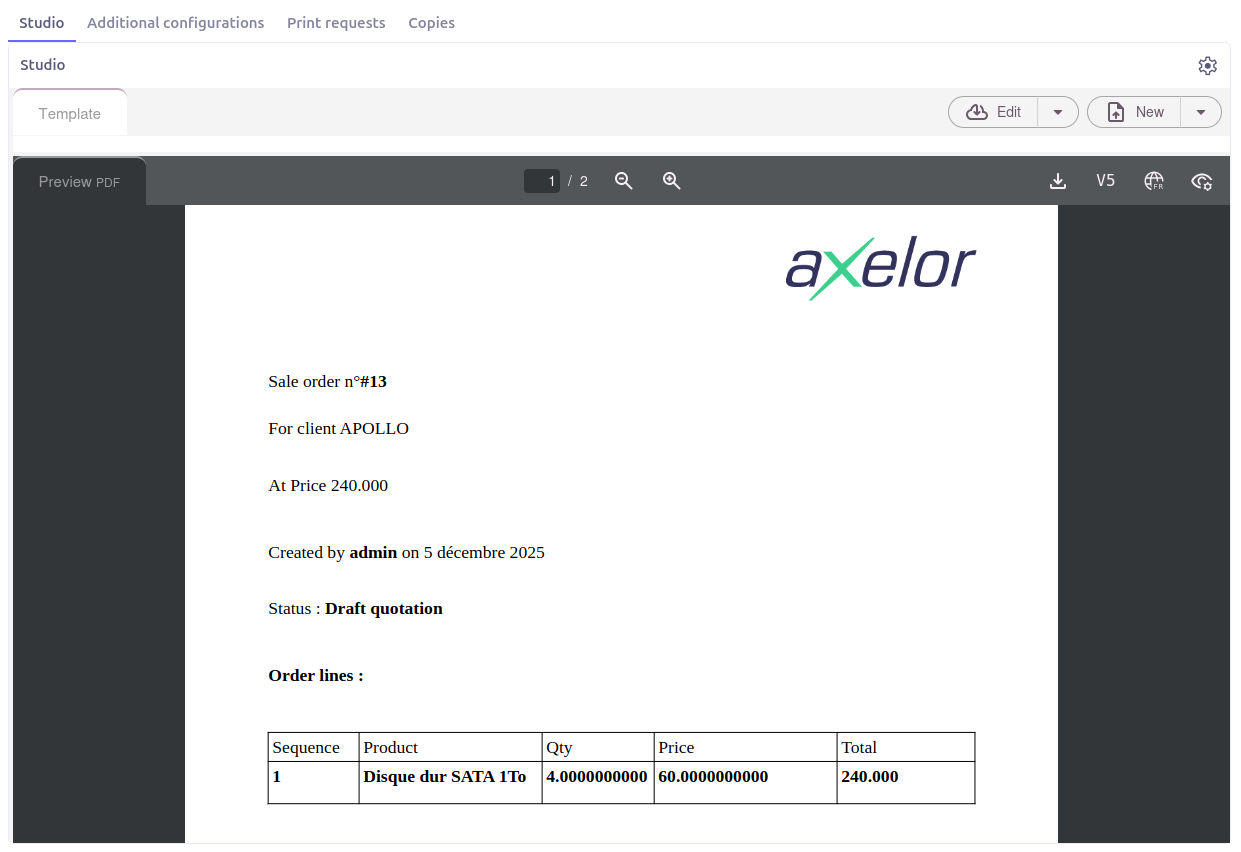
You can update an existing document or upload a new version using the New or Edit buttons, or by selecting an option from the dropdown menus that appear when you click the arrow icons.
|
When a document is uploaded to the embedded studio, a Save button appears in the embedded toolbar. Be sure to click Save before reloading the page, or your changes will be lost.
|

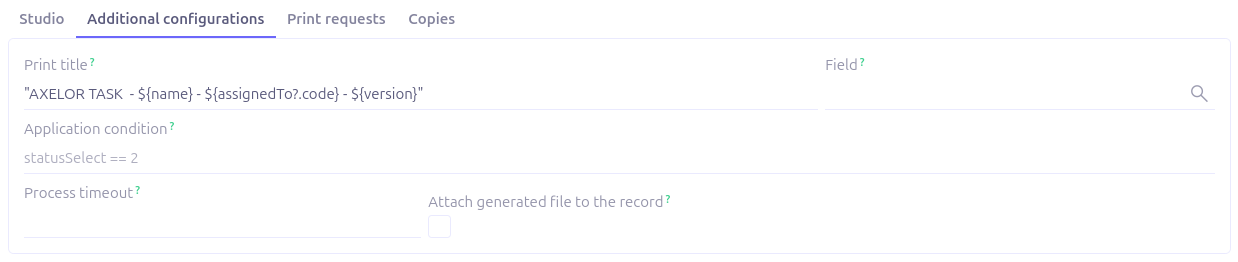
Additional configurations
-
Print title: The name of the printed document. Accept groovy expressions.
-
Application condition: This field allows you to show/hide the template print model only on some records, according to a groovy expression.
-
Process timeout: Same as the global option in Template app config, takes precedence over it if not null.
-
Attach generated file to the record: This allows you to attach the printed document directly to the business object corresponding to the mode defined in the setting.
Print requests
The tab 'Print requests' allows you to monitor all the print requests relying on this template print model.
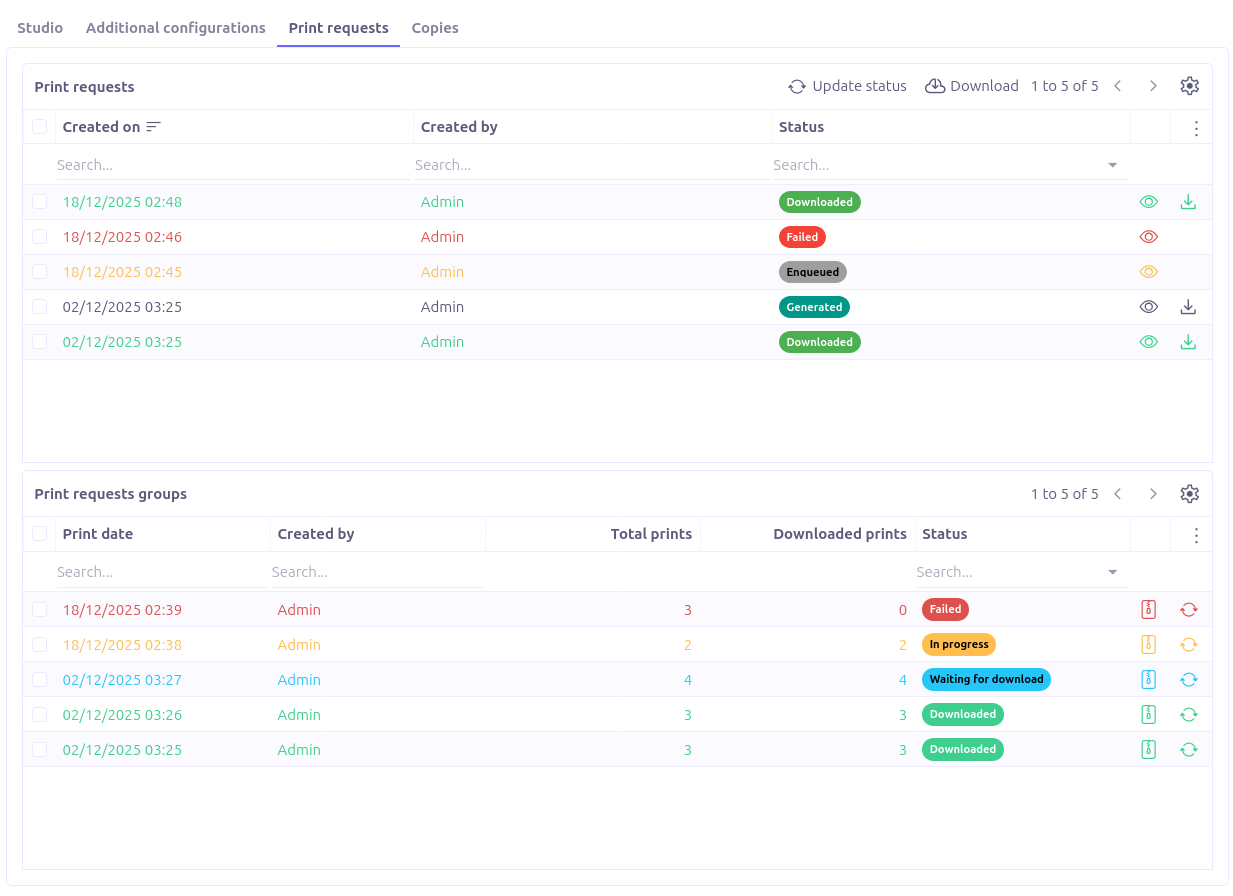
Copies
Displayed in case of an integration of template print model on business objects. List copies of the original template print model.
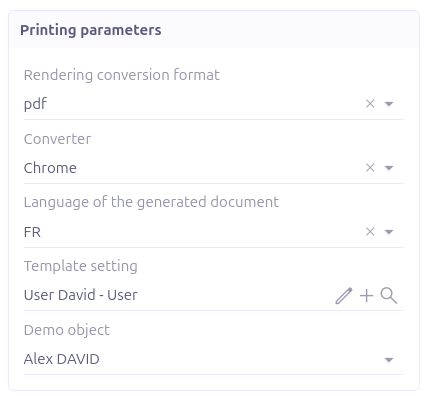
Sidebar panel
The details filled during TemplatePrintModel creation appears in the right sidebar panel too for future changes and adoptions:
-
Rendering conversion format: This is the target extension for the documents generated with this template. The available output formats are directly filtered according to the template file extension. the default conversion format is set to PDF.
-
Converter: Three types of converters are introduced, LibreOffice, OnlyOffice and Chrome. See the Carbone documentation.
-
Language of the generated document: The locale to apply when formatting data.
-
Template setting: This corresponds to the name of the linked template setting.
-
Demo object: This corresponds to a record of the model chosen in the linked template setting. It is optional and will be used only for the preview.