Configuration
Axelor connect is an Enterprise module, that can be installed and used from Axelor’s nexus repository.
Nexus Configuration
settings.gradle
In settings.gradle file, inside dependencyResolutionManagement, declare a new repository to let gradle install axelor-connect module from the dedicated Nexus repository.
dependencyResolutionManagement {
  repositories {
    // keep the declaration of your other repositories there
    maven {
      name 'maven-enterprise'
      url 'https://repository.axelor.com/nexus/repository/maven-enterprise/'
      credentials {
        username axelorMavenUsername
        password axelorMavenPassword
      }
    }
  }
}Configuration
Axelor Connect requires Basic authentication to be enabled. To do so, add the following line to axelor-config.properties file:
auth.local.basic-auth = indirect, directInstallation
To install axelor connect:
-
Go to the menu
Apps management -
Search for
Axelor connect -
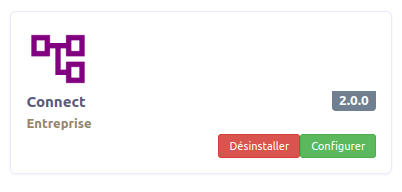
In
Connectapp card, clickInstall
After installing Connect, its menu will appear in left sidebar with the following entry menus:
-
Connect: redirect to connect server https://connect.axelor.com.
-
Webhooks: A set of actions to trigger automated workflow.

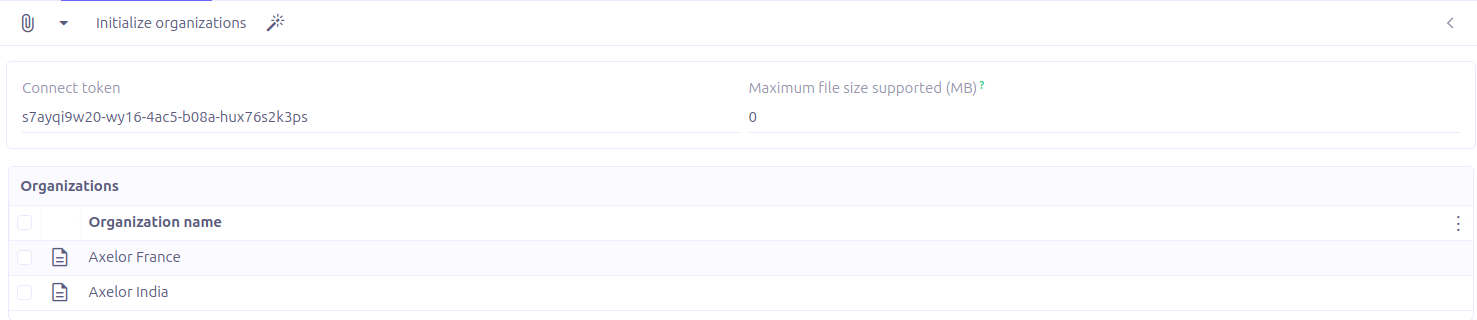
Organizations configuration
To initialize the organizations the user belongs to, it is recommended to set a token with the less possible permissions to enhance security and data consistency.
Generate an access token
-
Go to connect instance (i.e. https://connect.axelor.com)
-
In left sidebar at the bottom, click Profile.
-
Switch to API access tab.
-
Click Add token button.
-
Enter a label (i.e. ERP access token).
-
Select scope:
organizations:read. -
Save.