Document management
Access: Application Config → Apps Management → Base, configure → Enable the Documents option (Configuration tab, at the bottom of the page).
The Documents entry menu will then appear on the left.
Manage documents in the Axelor solution by uploading files. You can upload files by clicking on the paperclip icon on a form. Clicking on the paperclip icon opens the Attachments window.

Upload Files
As an example, on a sale quote, click on the paperclip icon.
The Attachments window will open. In this window, you can attach files to the quote. Simply drag and drop the files. You can also upload files by clicking on the small triangle next to the New button and selecting the File upload action from the dropdown menu.

Create Files
-
New folder: in the Attachments window, you can create a new folder either by clicking directly on the New button or by clicking on the small triangle and selecting the Folder button from the dropdown menu that appears. You are then prompted to enter a folder name.
-
New file: in the Attachments window, you can create a new file by clicking on the small triangle next to the New button and selecting the Document button from the dropdown menu that appears. You are then prompted to enter a file name. It is then possible to open the document in a new tab to fill it out and save it.
View Existing Files
Files linked to a record can be directly viewed from its form view. It is also possible to navigate from the general hierarchy to access all documents:
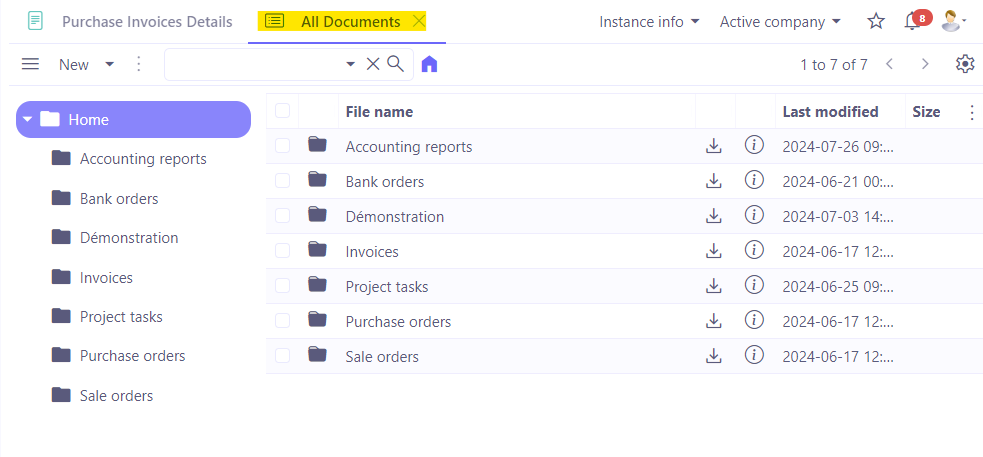
Access: Documents → All Documents.
-
Open All Documents.
-
In the Home column there are folders corresponding to each installed module. For example, click on Invoices and view any file attached to this app.
-
You can view a file by double-clicking on it. You can then download it using the Download button in the toolbar of the new viewing window. You can also download a file or an entire folder from the main view of all files by clicking on the Download icon at the end of each line.
-
It is also possible to edit the document title by clicking on the pencil icon - Edit.
-
By clicking on the triangle button, you can: refresh/delete/duplicate the document and view its last modification.
-
In All Documents, click on the three-dot icon. Several actions appear:
-
Rename: to rename files.
-
Permission: to restrict access to certain folders for specific users.
-
Attached to: to view the record associated with the selected file.
-
Download : to download current file.
-
Delete: to delete the selected file or folder.
Add a Tag
Tags allow grouping and marking documents and facilitate their search when the user is in the document management hierarchy.
-
Once you have opened a file from the "All Files" menu, on the "Document" page, you will see that this file has a tag.
-
If the tag does not exist, you can create it directly on the document in the "Tag" field by clicking on the field and then on "+Create".
-
It is also possible to create a tag from the "Tags" menu (Access: Documents → Configuration → Tags).
-
In the tag creation window, enter the code, name, and style of the tag.
