DMN Editor
Introduction
DMN (Decision Model and Notation) is a standard for modeling and executing business decisions. It provides efficient means of decision-making on a set of inputs, using decision tables or literal expressions.
DMN supports several expression languages for processing inputs and creating outputs, including:
-
FEEL (Friendly Enough Expression Language) — the default DMN expression language
-
JEEL (Java Expression Evaluation Library)
-
GROOVY
A DMN model can contain one or more decisions. Each decision is represented either by a decision table or a literal expression. Decisions can be chained, meaning one decision can serve as input for another. The complete diagram containing all decisions and their relationships is known as a Decision Requirements Diagram (DRD).
In addition to decision tables and literal expressions, DMN provides other notation elements such as Input Data and Knowledge Source to improve the readability of the diagram.
| DMN can be used either in combination with BPM (via Business Rule Tasks) or independently as a standalone decision engine. |
Access
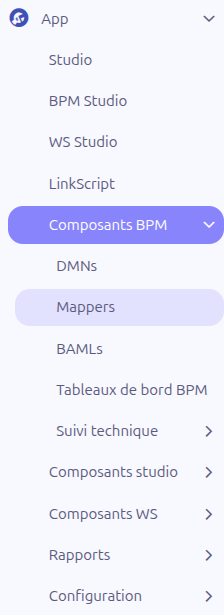
To access the DMN editor, navigate to:
Application Builder > BPM components > DMNs
This opens the list of existing DMN models. From here, you can create a new model or open an existing one.
Configuration
When you create or open a DMN model, the form view is displayed with the following fields and actions.
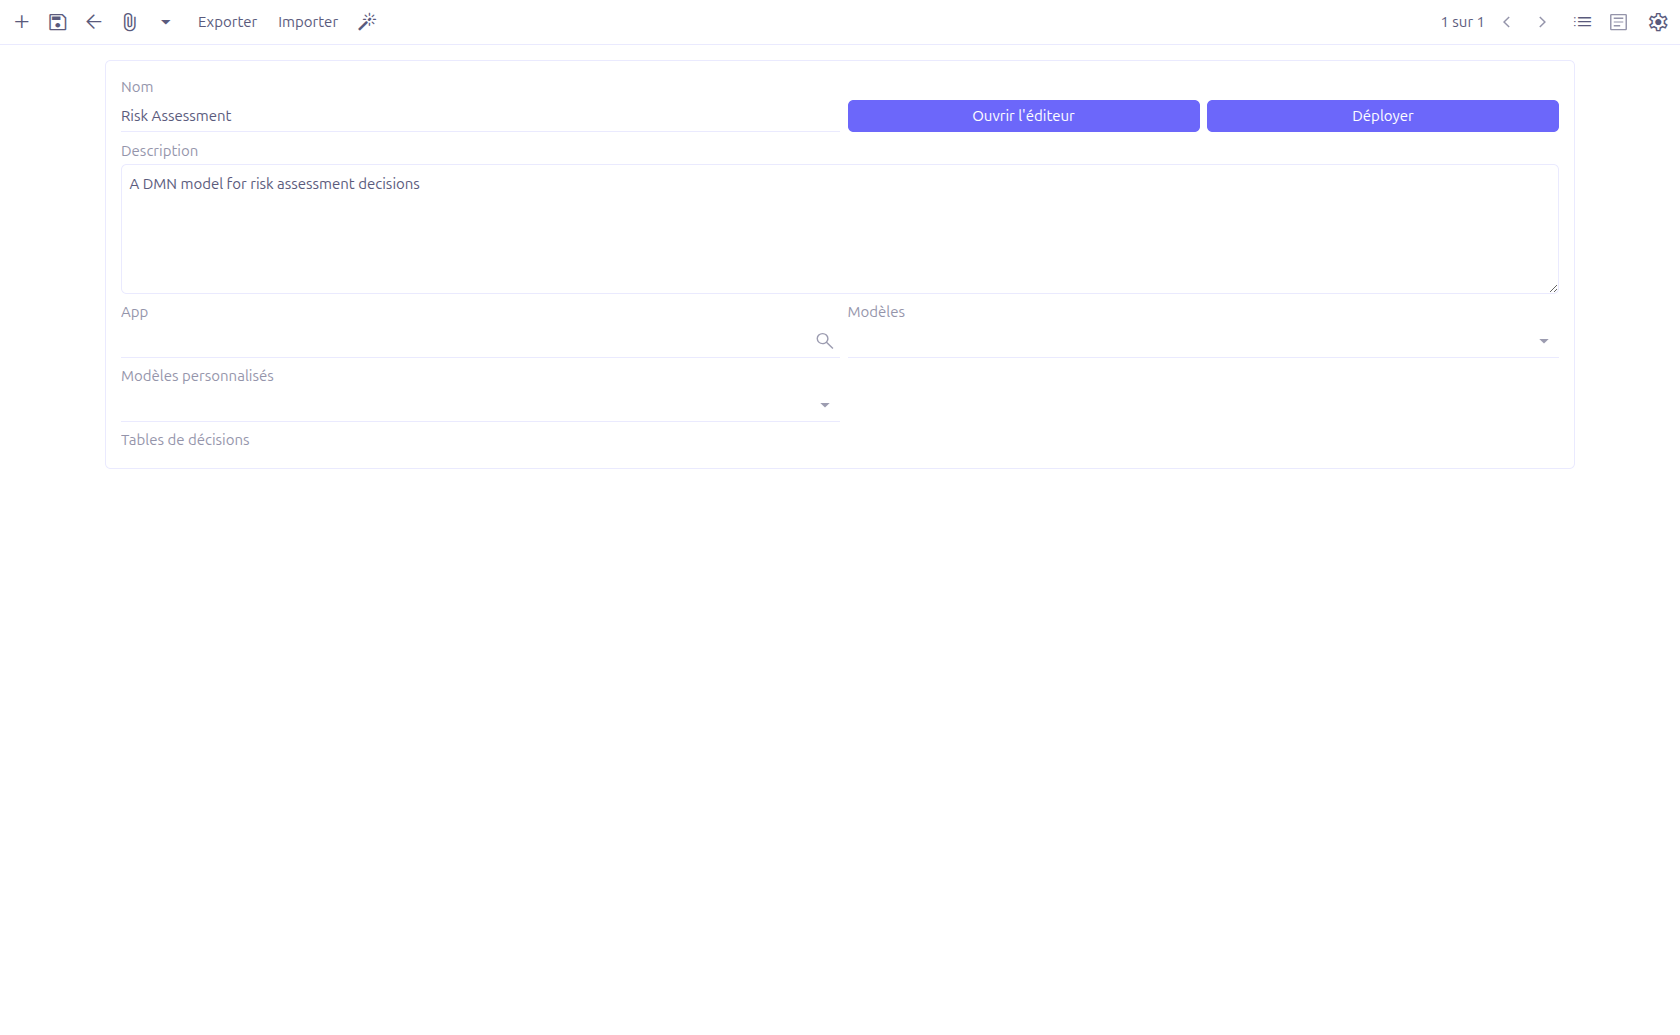
General Information
-
Name (1): Name of the DMN model. This field is required.
-
Description (2): A free-text description to explain what the DMN model does.
-
App (3): Optionally attach the DMN model to a specific application.
Associated Models
-
Models (4): Select one or more data models (MetaModel) using the TagSelect widget. These models will be available as context when executing the DMN decisions.
-
Custom models (5): Select one or more custom models (MetaJsonModel) using the TagSelect widget, in addition to standard models.
| Associating models is only necessary when the DMN is used independently (outside of a BPM process). When used via a Business Rule Task, the models from the BPM process context are used instead. |
| The model associations are stored as custom attributes in the DMN XML definitions element and are synchronized during deployment. |
Toolbar Actions
-
Open editor (6): Opens the graphical DMN editor in a new view. The editor URL follows the pattern
bpm/?type=dmn&id=<model_id>. -
Deploy (7): Deploys the DMN model to the decision engine, making it executable.
-
Export (8): Exports the decision table data to a file.
-
Import (9): Imports decision table data from a file.
| You must save the DMN model before opening the editor. Any unsaved changes on the form will not be reflected in the editor. |
Editor Interface
The DMN editor provides a graphical environment to design your Decision Requirements Diagram (DRD).
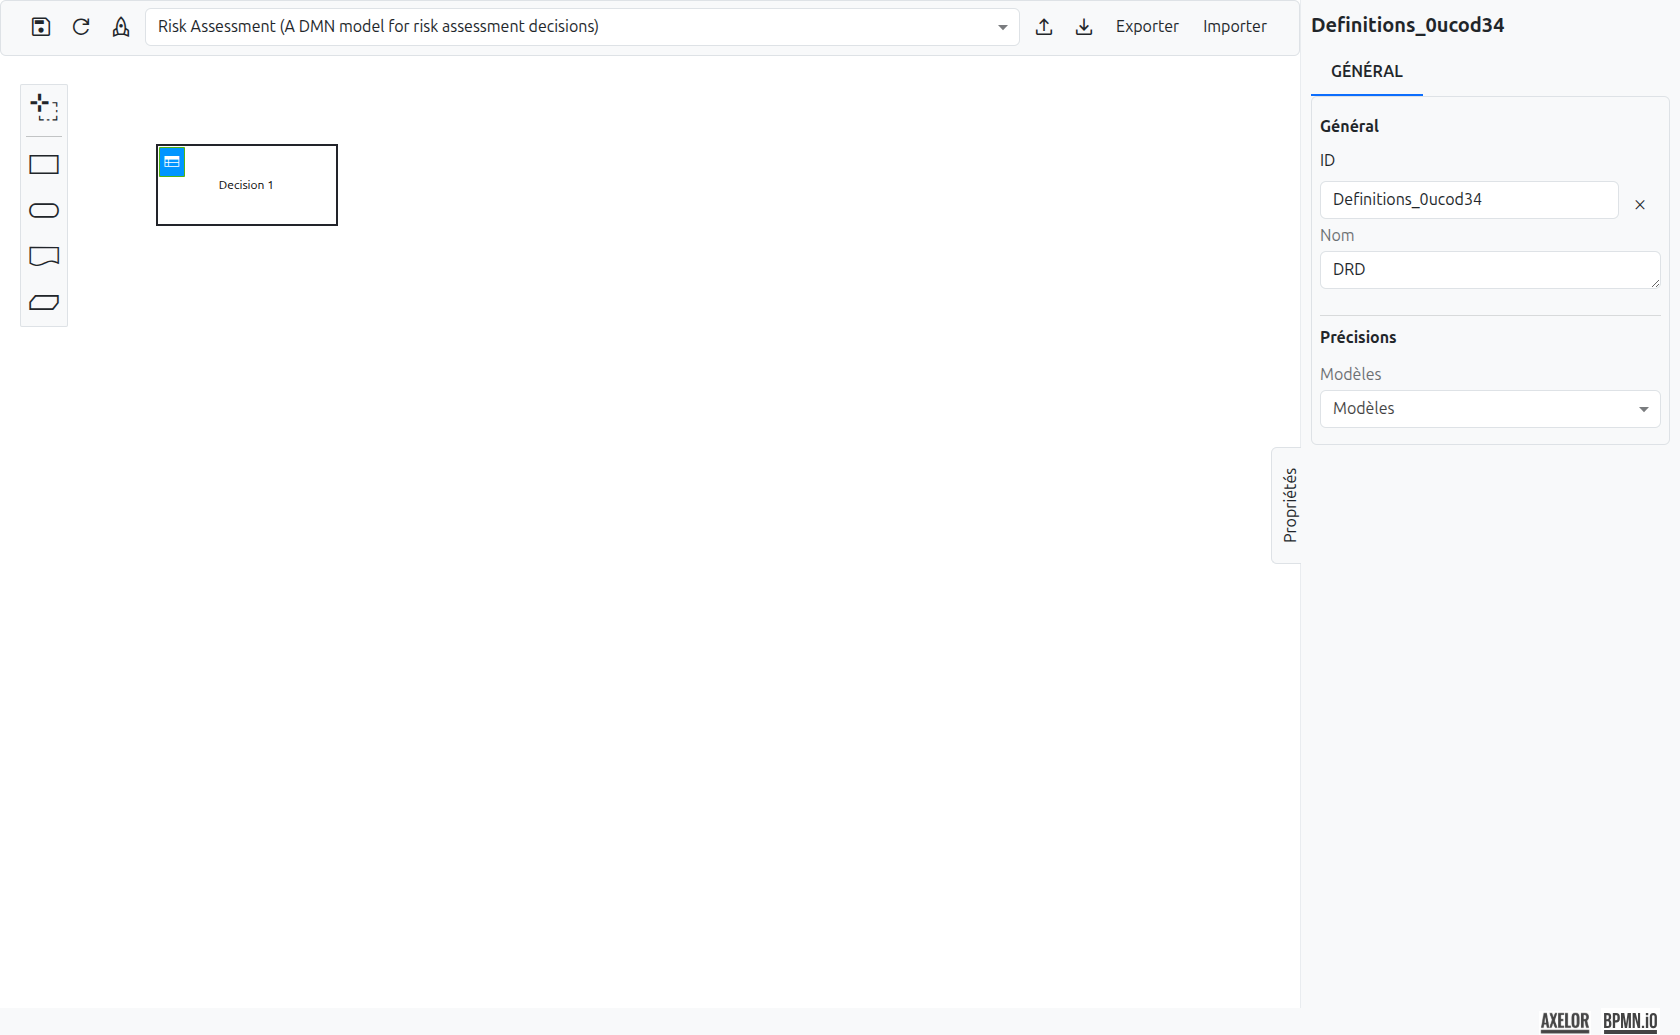
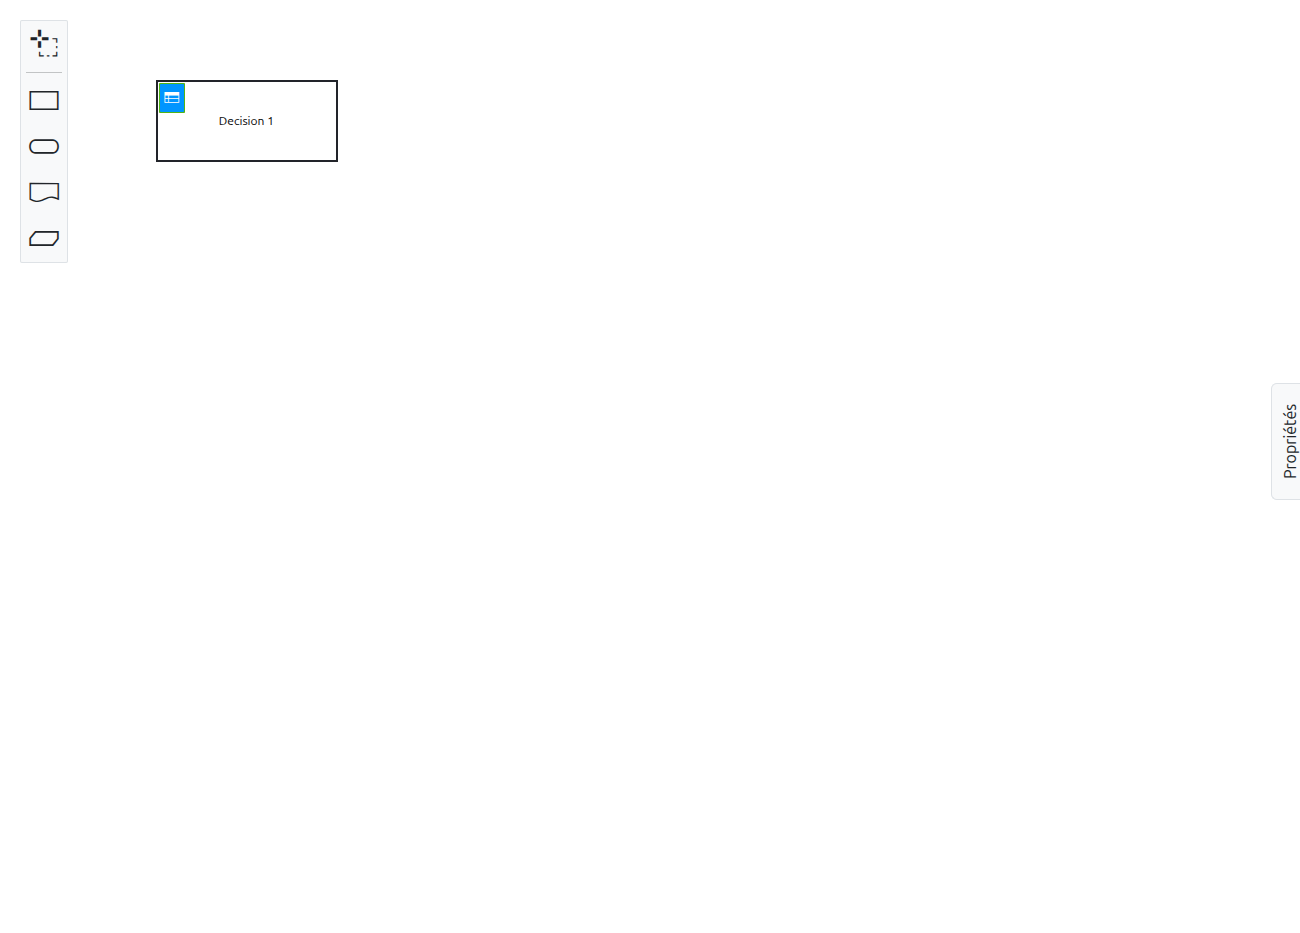
The Palette
The palette is located on the left side of the editor. It contains all the elements available for designing a DRD.
| Icon | Description |
|---|---|
|
Lasso tool (1): Activates the lasso selection tool, allowing you to select and move multiple elements at once. |
|
Decision (2): Places a new decision element on the diagram. A decision can be configured as a decision table or a literal expression. |
|
Input Data (3): Represents the data required to execute a decision. This is a purely visual element for diagram readability — it has no functional effect on execution. |
|
Knowledge Source (4): Indicates the source of knowledge used to define the decision logic. This is also a visual-only element with no effect on execution. |
|
Business Knowledge Model (5): Represents reusable business logic. This is a visual-only element for diagram readability. |


The Properties Panel
On the right side of the editor, the properties panel displays the configuration of the currently selected element. When no element is selected, it shows the properties of the DRD itself.
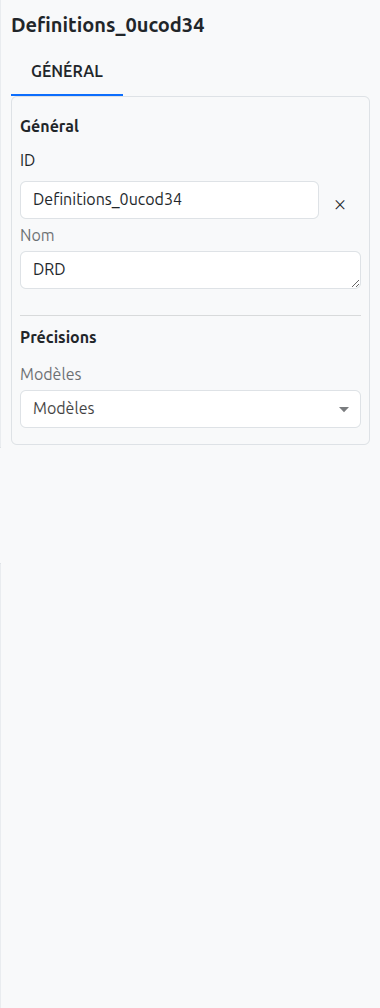
The properties panel allows you to configure:
-
Id: The unique identifier of the element.
-
Name: The display name of the element.
-
Expression language: The language used for expressions in decision tables (FEEL, JEEL, or GROOVY).
Editing a Decision Table
When you click on a decision element in the DRD and open it, the decision table editor is displayed.
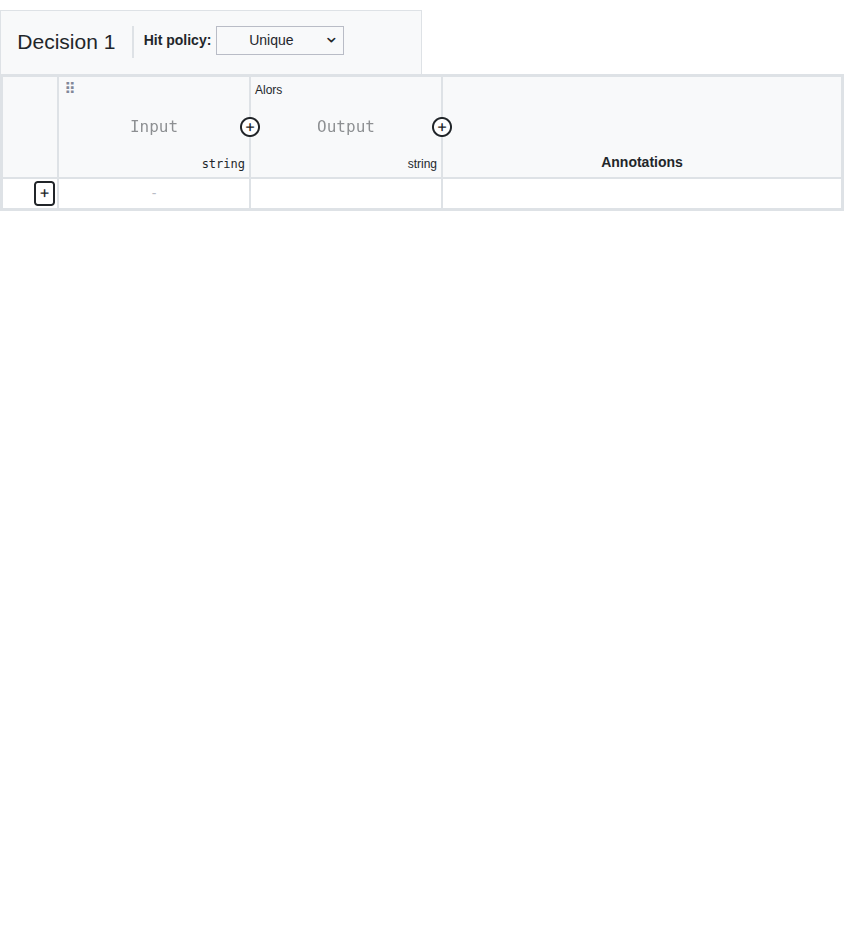
A decision table is composed of:
-
Input columns (1): Define the input variables and their conditions. Each column header specifies the input expression and its type.
-
Output columns (2): Define the output variables produced by the decision. Each column header specifies the output name and type.
-
Rules (rows) (3): Each row represents a rule. When the input conditions of a row match, the corresponding output values are produced.
-
Hit policy (4): Defines how multiple matching rules are handled. In the Axelor DMN editor, the hit policy is set to FIRST (F) by default: when rules overlap, the first matching rule in order is chosen.
| The Axelor DMN editor enforces the FIRST hit policy. Other standard DMN hit policies (Unique, Any, Collect, Priority) are not available through the editor UI. |
Expression Languages
The DMN editor supports the following expression languages for input expressions and output definitions:
| Language | Description |
|---|---|
FEEL |
Friendly Enough Expression Language (DMN standard default) |
Groovy |
Apache Groovy scripting language |
JUEL |
Java Unified Expression Language |
JavaScript |
JavaScript expressions |
Python |
Python expressions |
JRuby |
JRuby (Ruby on JVM) expressions |
| When an expression text is set (non-empty) on an input column, the expression language is automatically switched to Groovy. |
Data Types
Decision table columns support the following data types:
string, boolean, integer, long, double, date, datetime
Each data type provides type-specific editors for rule cells (e.g., string matching, number comparisons/ranges, date before/after/between, boolean yes/no).
| You can also configure a decision as a literal expression instead of a table, which is useful for simple computations that do not require multiple rules. |
Decision Tables
Back on the DMN model form view, the Decision tables section lists all decision elements present in the DRD.

Each decision table entry displays:
-
Name (1): The name of the decision (read-only, synchronized from the editor).
-
Decision Id (2): The unique identifier of the decision (read-only). This is the value used when referencing the decision from a BPM process.
-
Output fields (3): The list of output fields produced by this decision, including field name, field reference, and field type.
| The decision table names and IDs are automatically synchronized from the DMN editor. They cannot be modified directly in the form view. |
Integration with BPM
DMN decisions can be invoked from a BPMN process by using a Business Rule Task.
To connect a DMN decision to a BPM process:
-
In the BPM modeler, add a Business Rule Task to your process.
-
In the task’s technical configuration, set the Implementation to DMN.
-
In the Decision Ref field, enter the Decision Id of the DMN decision you want to execute.
-
Configure the Decision Result Variable to store the output.
-
Set the Map Decision Result option to define how the result is mapped to process variables.
| Only the decision reference (Decision Id) is used on Business Rule Task nodes, not the full DRD reference. |
For more details on configuring Business Rule Tasks, see the Business Rule Task documentation.
Deployment
Deploying a DMN model makes it executable by the Camunda decision engine. Deployment can be triggered from:
-
The Deploy button (7) on the DMN model form
-
The Deploy button (rocket icon) in the DMN editor toolbar
What Happens During Deployment
-
The DMN XML is read from the model and parsed into a
DmnModelInstance -
The model is deployed to the Camunda engine with the key
{modelId}.dmn -
Model associations are synchronized: MetaModel and MetaJsonModel associations are read from the DMN definitions attributes and updated on the model
-
Decision tables are synchronized: for each decision table in the DMN diagram, a
DmnTablerecord is created or updated with the decision name and ID -
Output fields are synchronized: for each output column in each decision table, a
DmnFieldrecord is created or updated with the field name and type
DmnTable and DmnField records are read-only and populated automatically during deployment. They cannot be edited directly in the form.
|
When duplicating a DMN model, the system automatically regenerates all diagram IDs (Decision, Definitions) to ensure uniqueness, and the DmnTable list is cleared (it will be recreated on the next deployment).
Import and Export
Excel Export
Click the Export button in the DMN model form toolbar to export decision table data as an Excel file (.xlsx).
The export format:
-
One sheet per decision table (sheet name = decision ID)
-
Header row format:
{Label}({Id})for both input and output columns, plus an "Annotation" column -
Data rows contain the input entry values, output entry values, and rule descriptions
-
Columns are auto-sized for readability
| All input and output columns must have labels defined before exporting. Missing labels will cause an error. |
Excel Import
Click the Import button in the DMN model form toolbar to import decision table data from an Excel file.
To import:
-
Click the Import button to open the import dialog
-
Upload an Excel file (.xlsx or .xls)
-
Click Import to process the file
The import process:
-
Matches sheets to decision tables by decision ID (sheet name)
-
Row 0 is the title row (ignored)
-
Row 1 is the header row with format
{Label}({Id}) -
Row 2+ are data rows
-
All existing rules are replaced by the imported data
-
All imported entries use the Groovy expression language
|
DMN XML Upload/Download
The DMN editor toolbar also provides:
-
Upload (upload icon): Upload a
.dmnXML file to replace the current diagram -
Download (download icon): Export the current diagram as a
.dmnXML file
These operations work with the raw DMN XML format, useful for transferring complete diagrams between environments.
Execute a DMN Decision
It is possible to execute a DMN decision directly from the DMN model form, without going through a BPM process. This is useful for testing decisions or for standalone usage.

To execute a decision:
-
Select the DMN decision to run from the available decisions in the model.
-
Click the Execute button.
-
The decision will be evaluated against the current record context.
-
Results are returned based on the decision table rules and the configured output fields.
| This feature is particularly useful during development to test and validate your decision tables before integrating them into a BPM process. |