Introduction to BPM Studio
Introduction
To access the BPM Studio, you need to find the Application Builder tab in the left menu of the application. From here, you can expand it and click on BPM Studio to access it.
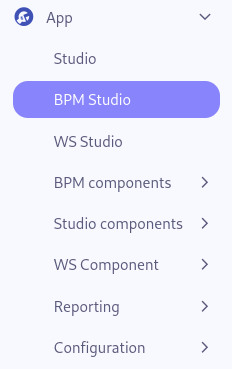
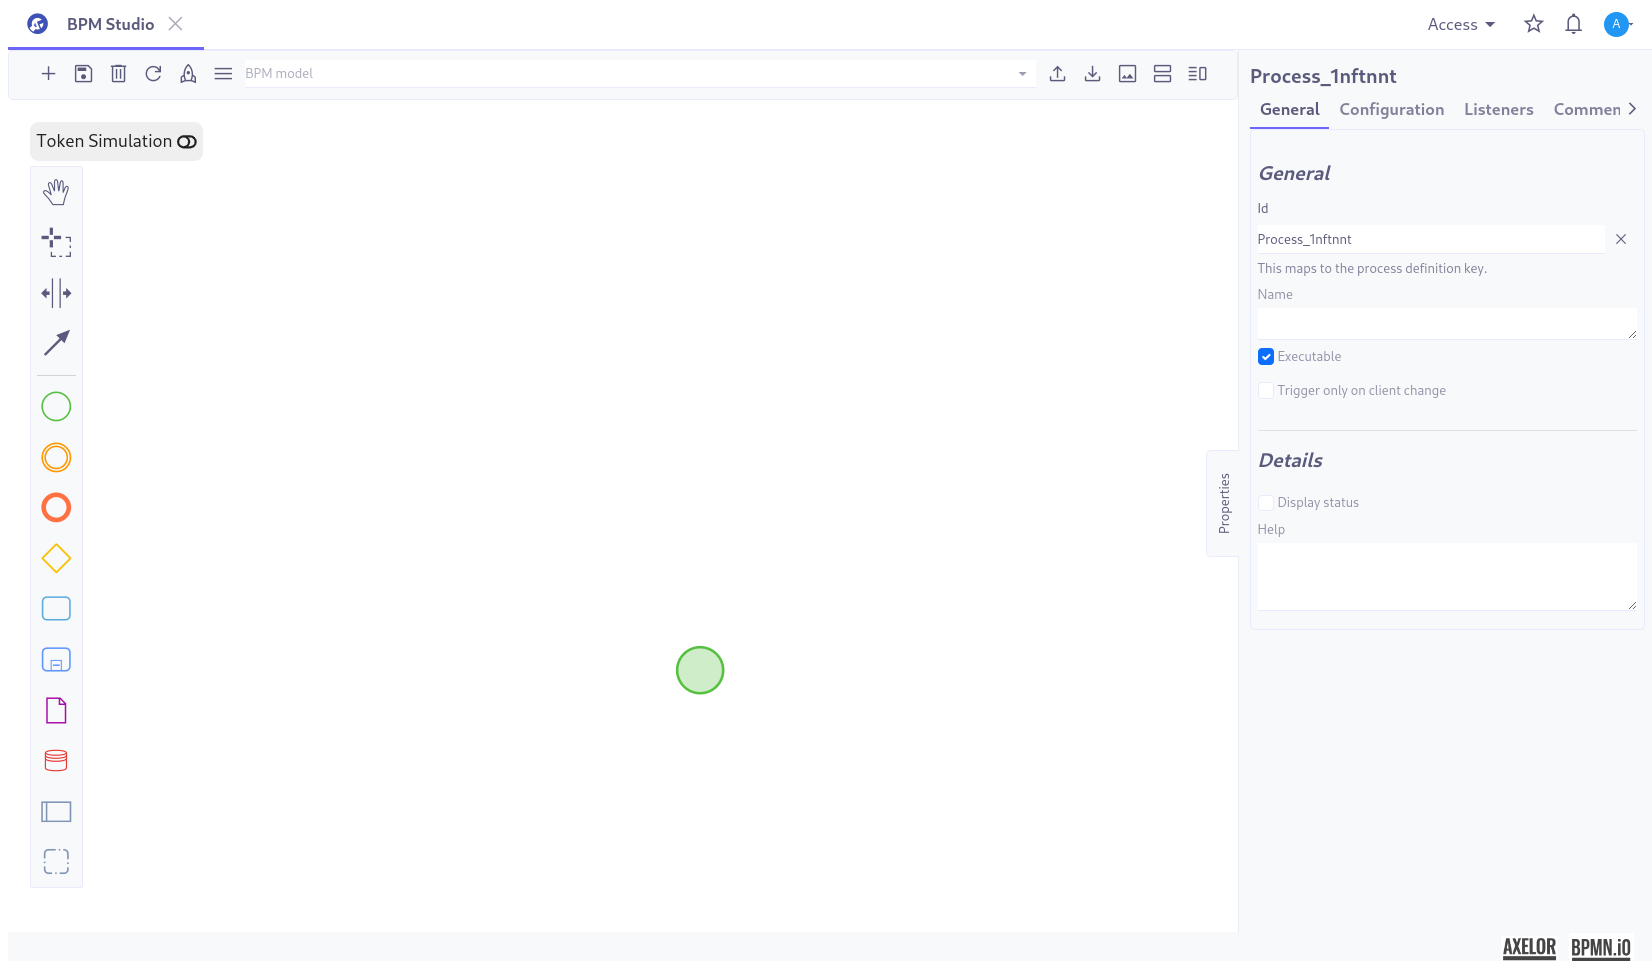
You thus access the BPM studio. A tab has opened and you should have a similar visual.
BPM Modeler
The BPM modeler is the main area where you will design your process. It is composed of several elements that we will detail below.
The Horizontal Toolbar
At the top left, a toolbar similar to this one is visible:

This toolbar allows you to perform various actions on the BPM model you are working on.
-
New Model Button : Create a new BPM model.
-
Save Button : Save the BPM model, this action save the current diagram in the database.
-
Delete Button : Delete the BPM model, this action is irreversible.
-
Refresh Button : Reload the process model canvas.
-
Deploy Button : Deploy the BPM model, this action makes the executable process effective.
-
Properties Panel Button : Show or hide the properties panel of the BPM model.
-
Import Button : Load a BPM model from a bpmn file.
-
Export Button : Download the BPM model in a bpmn file.
-
Save as Image Button : Download the BPM model as an image in .svg format.
-
Open split tool : Open the split tool to split the bpm model in case of multiple participant in a new tab.
-
Open the merge tool : Open the merge tool to merge multiple bpm model in one in a new tab.
In the middle of this toolbar, there is a dropdown field that allows you to choose the model you want to work on.
BPM Model properties
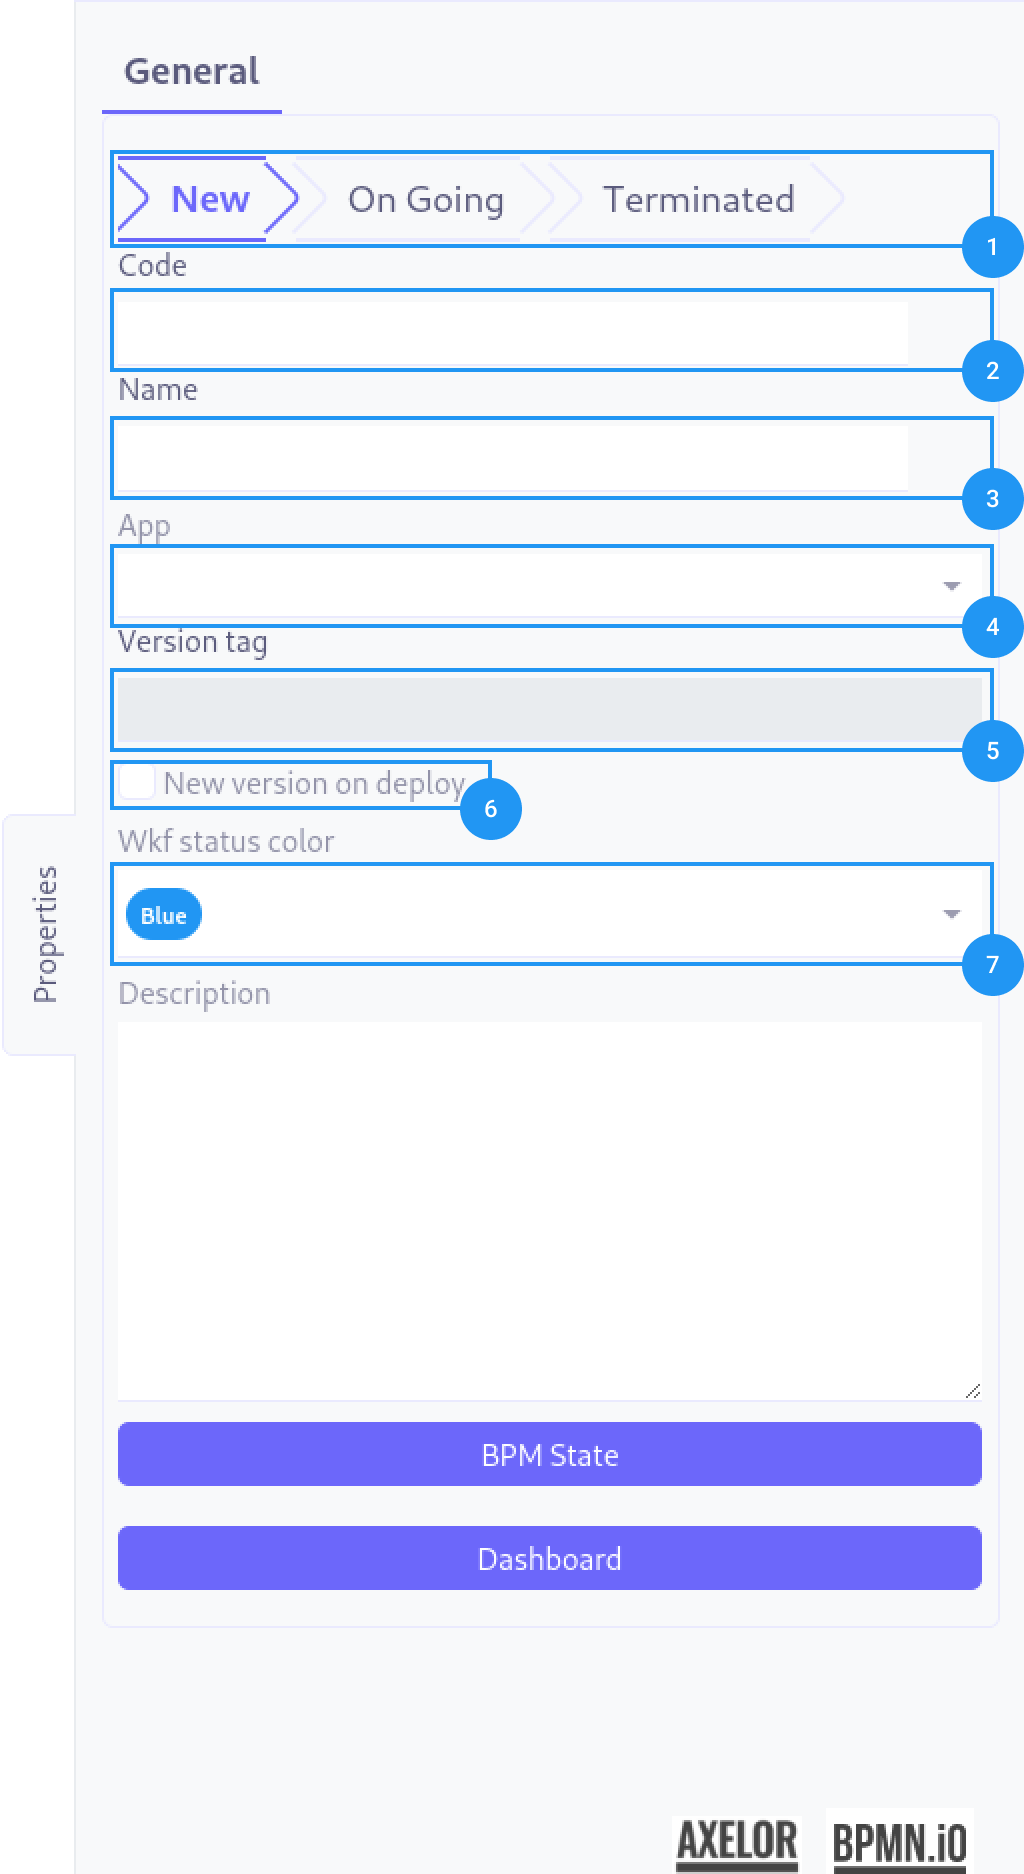
On the right side of the screen, you will find the properties panel of the BPM model, it can be divided in 3 parts:
1. General properties
-
Status : The status of the process, it can be New, On going or Terminated.
-
Code : The code of the process, it must be unique and will be automatically capitalized.
-
Name : The name of the process, it is free and without constraint.
-
Application attached : If needed the BPM model can be attached to an application.
-
Version tag : The tag of the current version of the BPM model.
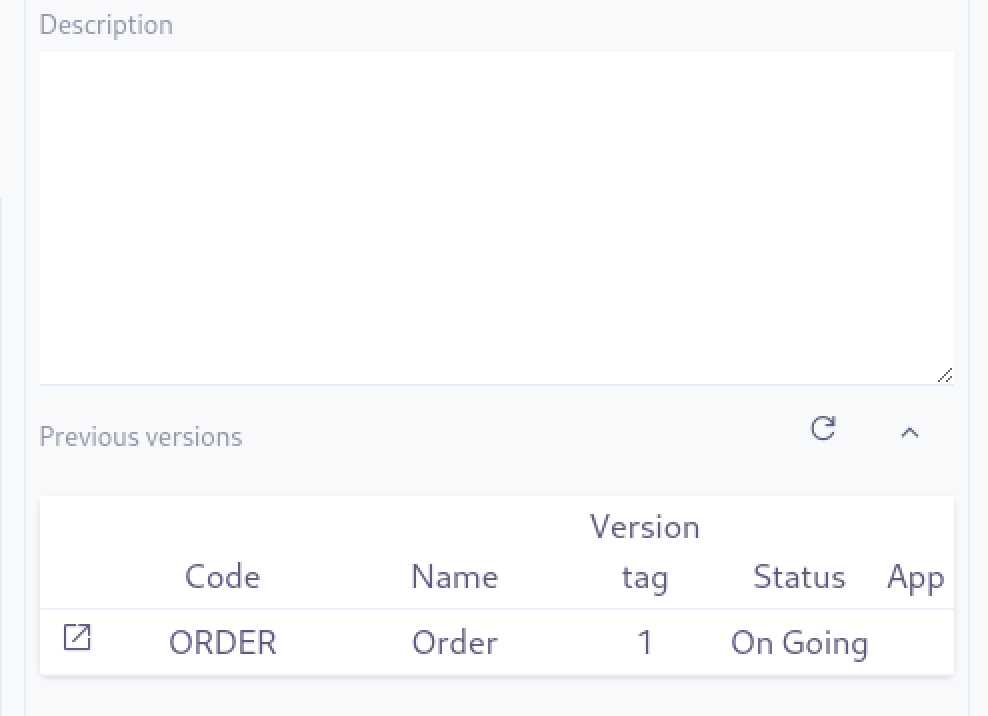 In case of multiple versions of the BPM model, you can see the previous versions listed in the dashlet, the left icon open the BPM model.
 -
New version on deploy : If checked, a new version of the BPM model will be created for every deployment.
-
Color of the workflow status : The color of the workflow status displayed in form view.
| Clicking on the properties label will collapse or expand the properties panel. |
2. Buttons
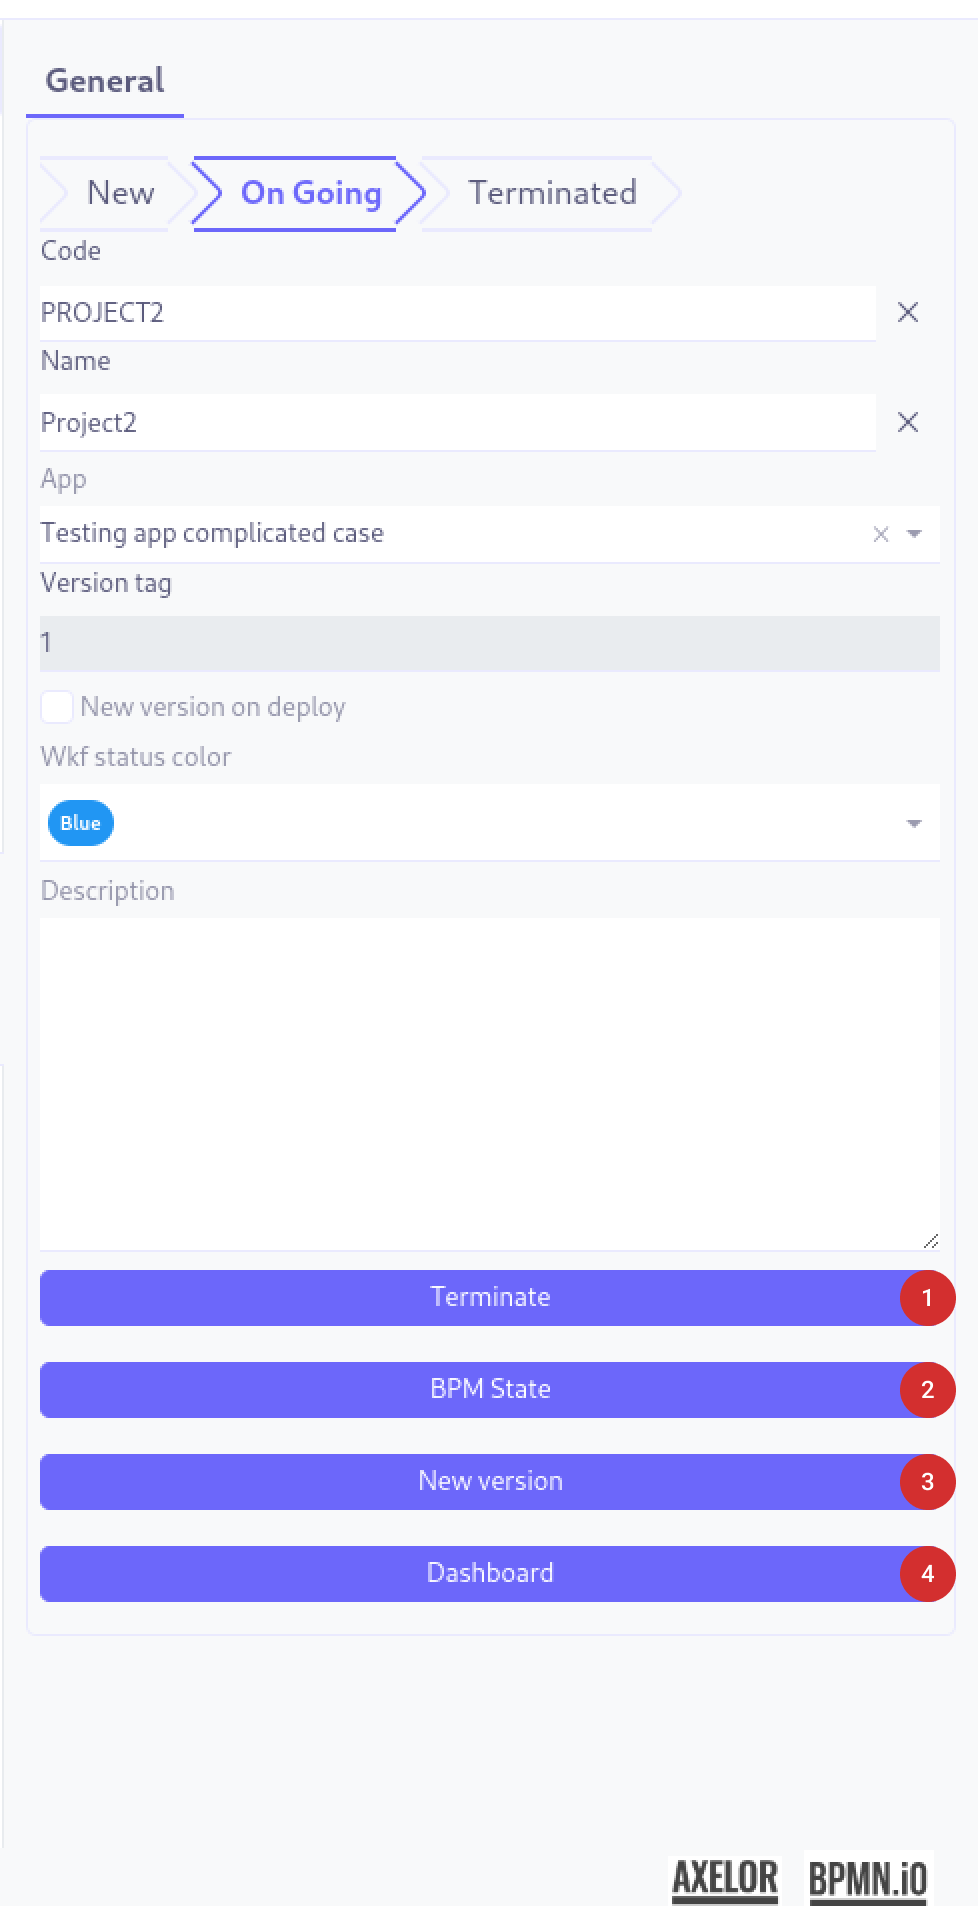
Once the model is deployed you can see the following buttons:
-
Terminate : Terminate the process, all running instances will be terminated as well.
-
BPM State : Display the BPM state of the process. By clicking on it, a new tab will open with the BPM state of the process where the total instances token are aggregated by nodes
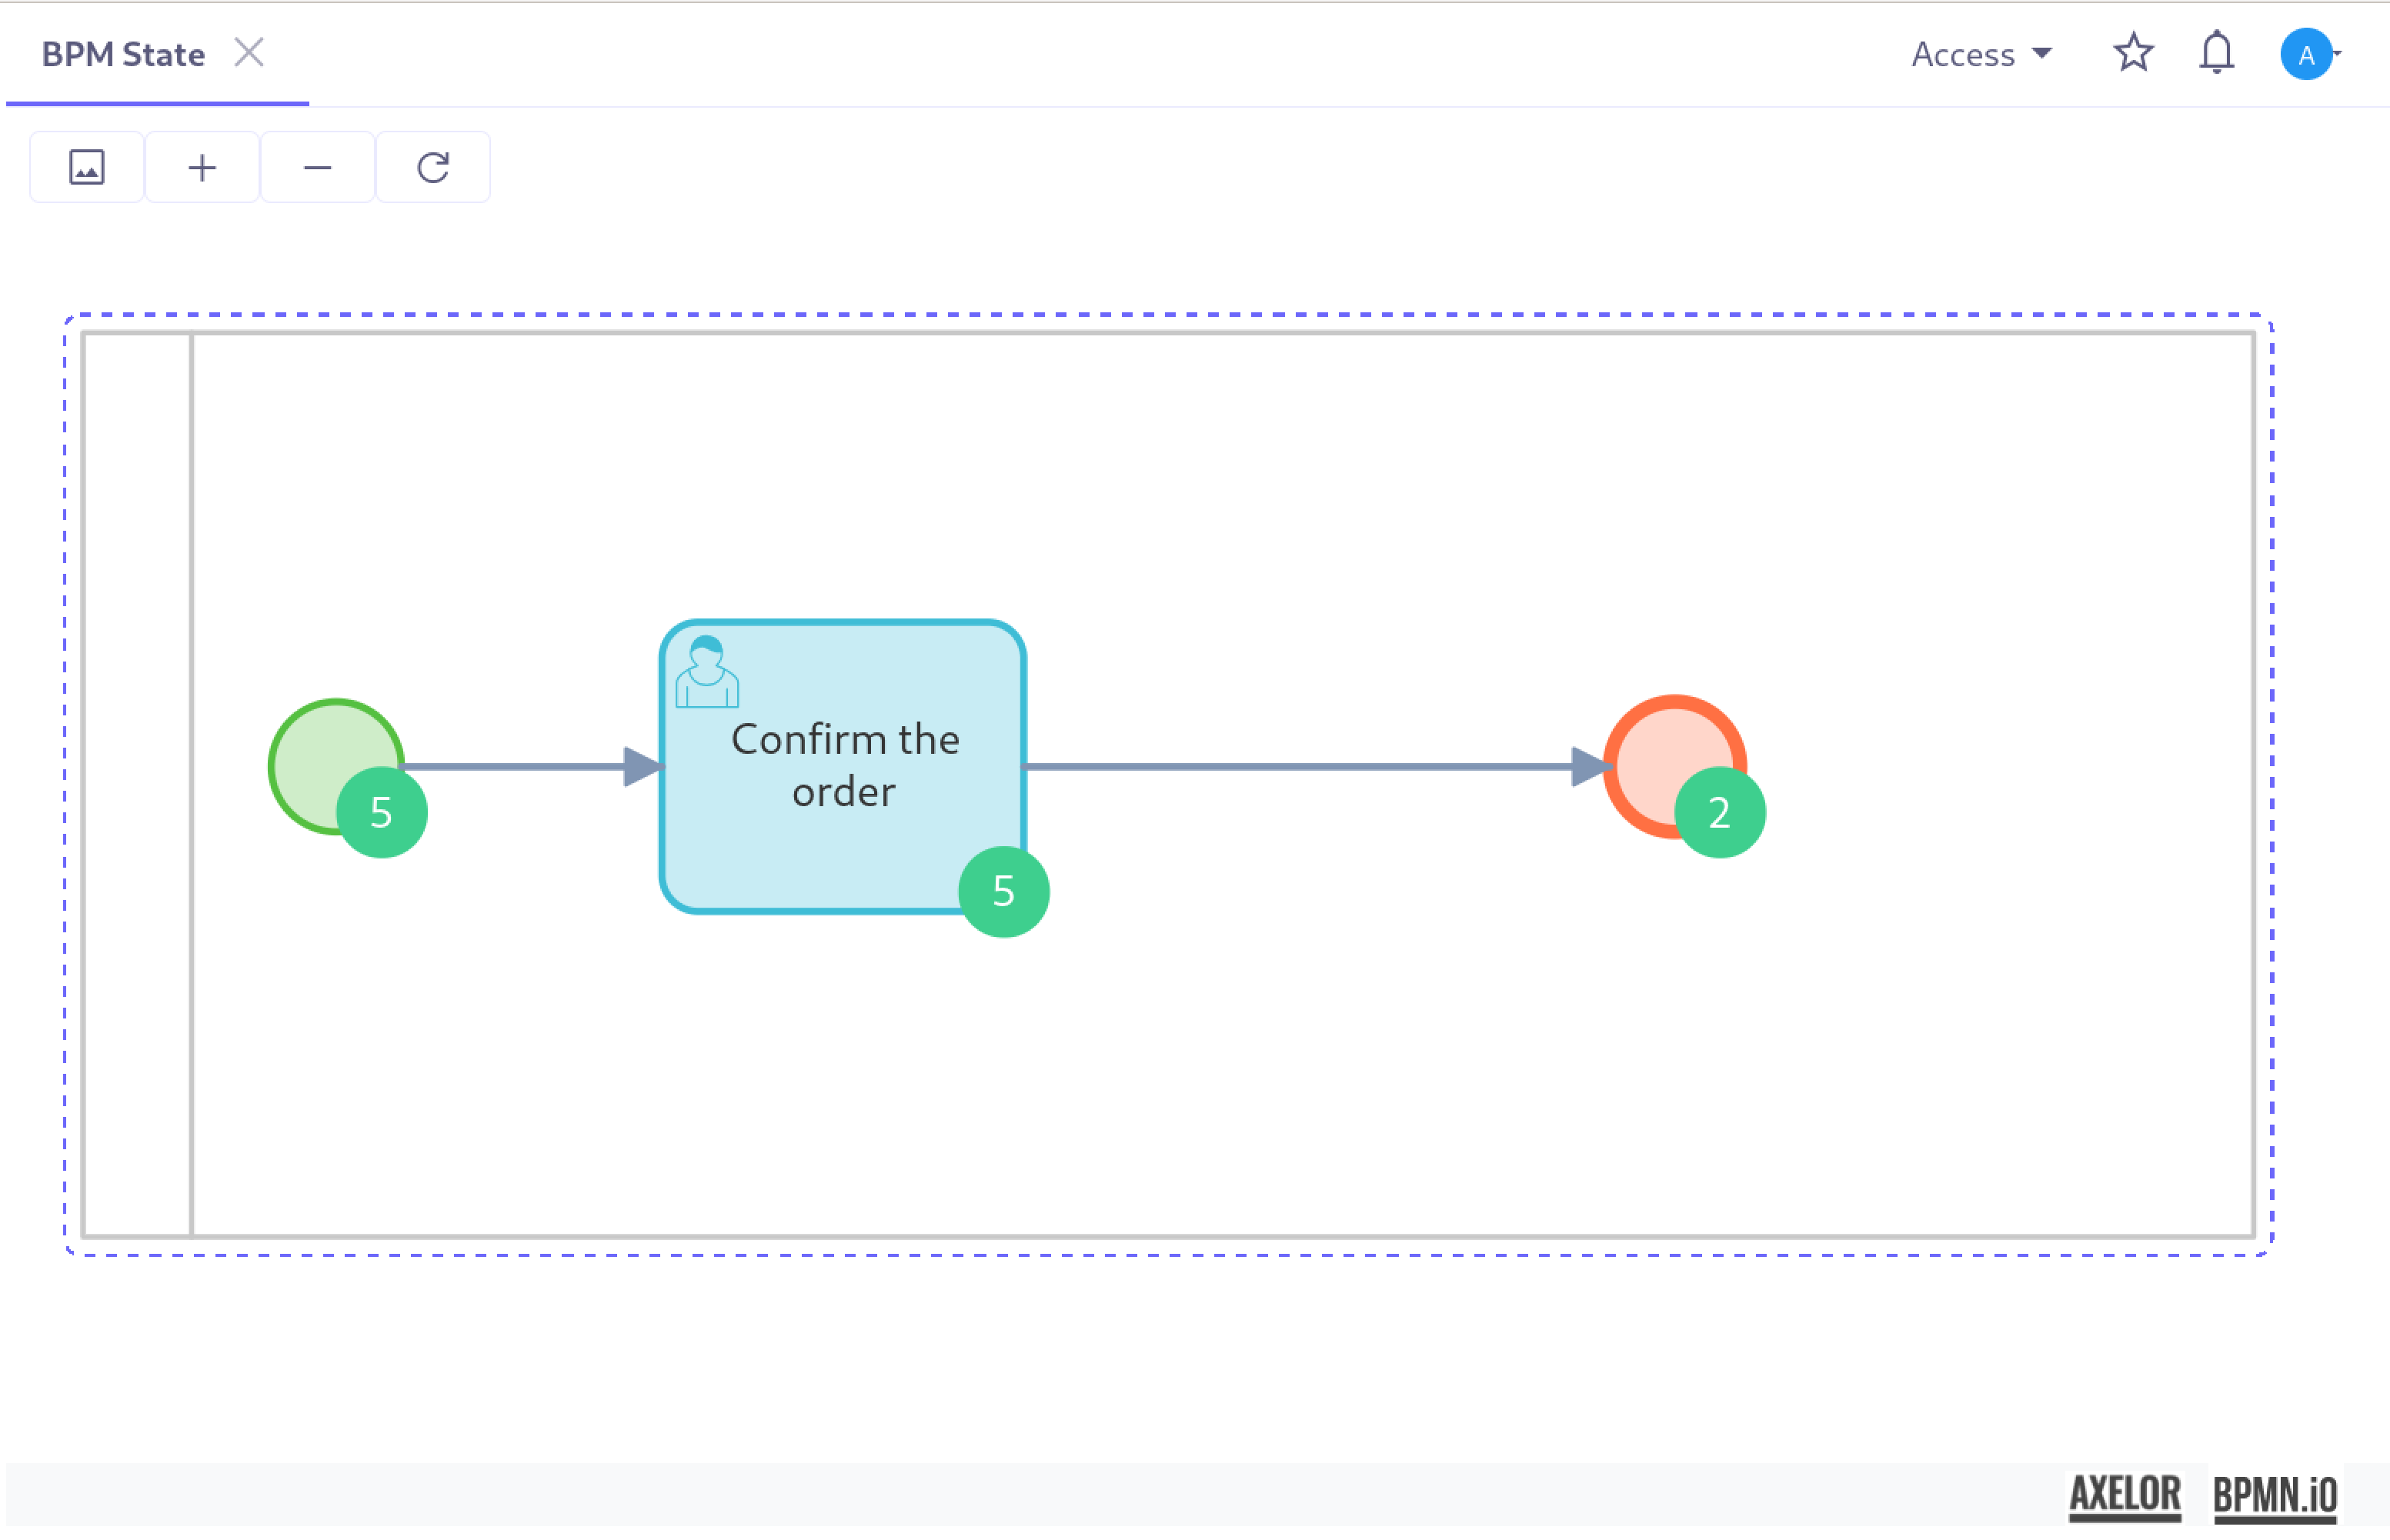 In this example, we have a total of 5 instances, all of them have reached at least the user task and 3 of them have reached the end event.
 -
New version : Generate a new version of the BPM model.
-
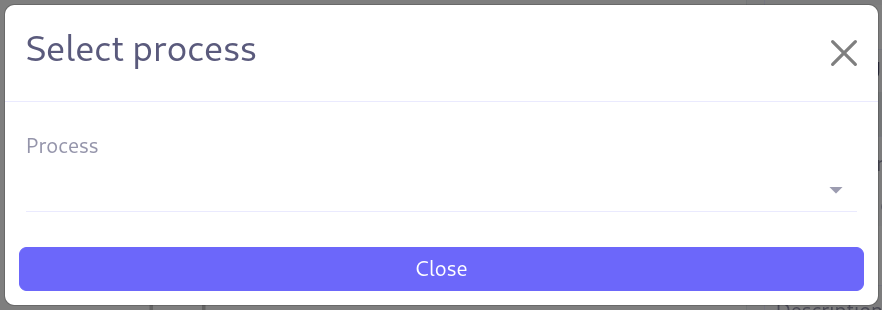
Dashboard : Display the dashboard of the BPM model. Clicking on it will open a popup to choose the concerned process since a model can contain multiple processes.
BPM Studio
Direcly in the modeler you have serveral tools to help you design your process.
The Palette
The palette is located on the left side of the BPM modeler, it contains all the elements you can use to design your process.
| Image | Description |
|---|---|
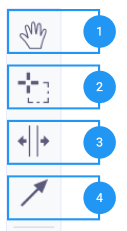
|
1. Hand : Move the canvas. 2. Lasso : Select multiple elements. 3. Spacer tool: Creates space when moved to the right or downward. If moved to the left or upward, it reduces space. 4. Link tool : Create a link between two elements. |
|
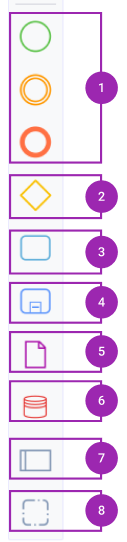
1. Events : Start, intermediate and end events. 2. Gateway : Exclusive, inclusive, parallel and event based gateways, by default exclusive gateway is selected. 3. Activity : User task, service task, script task, call activity, sub process etc, by default blank task is selected. 4. Sub process : Ad hoc, transaction, event sub process, by default ad embeded sub process is selected. 5. Data : Data object, data input, data output, by default data object is selected. 6. Data store : Database artefacts (non configuration only for design purpose). 7. Participants : Insert a new pool in the bpm model. 8. Artifacts : Group insertion in the bpm model. |
The Canvas
The canvas is the main area where you will design your process. It is composed of several elements, and we will there focus on the interaction with them.
Node properties
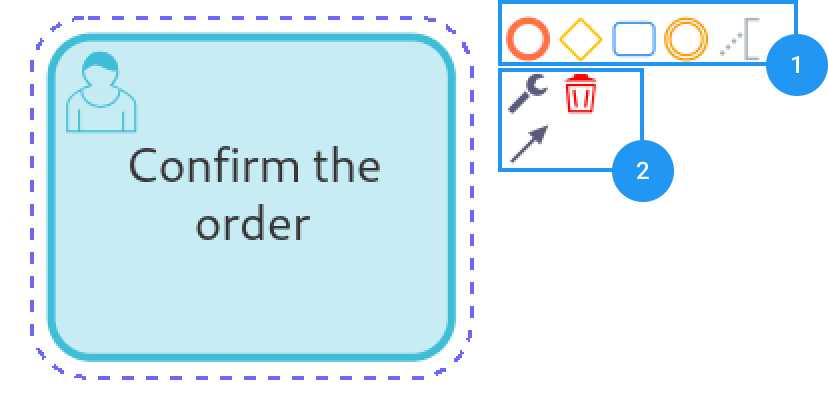
When you click on a node, the properties panel will display the properties of the node.
-
Quick insertions : Insert a new node in the bpm model or an annotation.
-
Configuration : Configure the node properties, link it to a another node using a flow element or delete it.
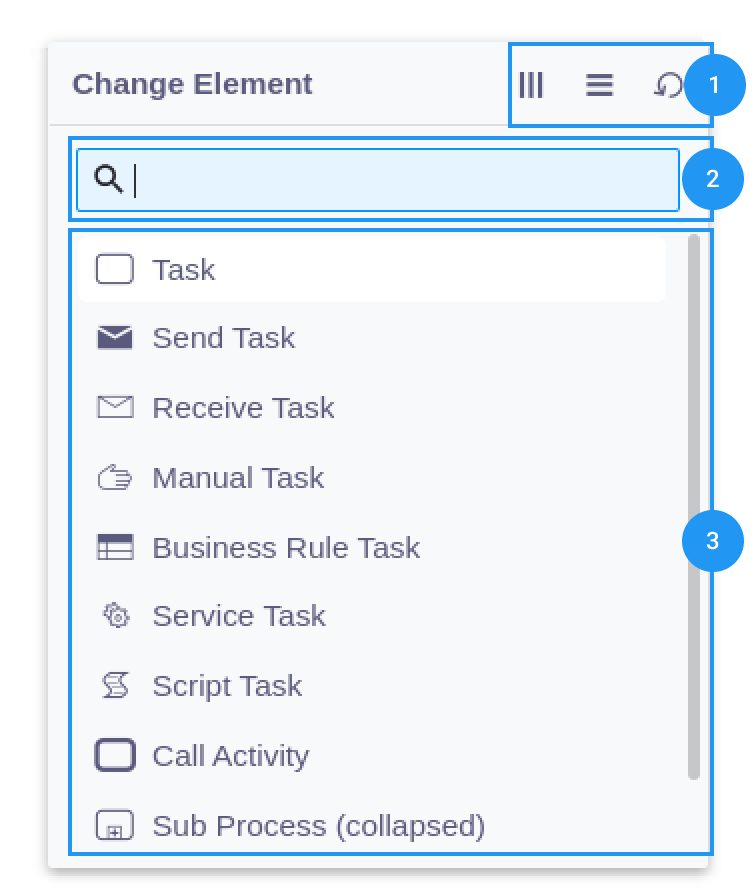 By clicking on the wrench icon, you can configure the node properties, it will open the popup where you can:
-
Apply multi-instance or loop properties.
-
Search within the list.
-
Available properties for the node, the properties are filtered by the type of the node(pool, activity, gateways, etc).
-