Studio Documentation 3.2
The Studio module is a low-code/no-code platform that allows you to customize your Axelor application using a graphical interface, without writing code. It provides tools to build custom data models, design views, create menus, define business logic, and package your customizations into installable applications.
Prerequisites
|
The Studio module must be activated before use. Go to Administration > Apps management, find the Studio application, and click Install to enable it. |
Once installed, Studio features become accessible from the App menu in the top navigation bar.
Architecture Overview
Studio is built on three layers:
-
Visual View Builder: A React-based drag-and-drop form designer embedded as an HTML view within the Axelor application. It allows you to create and modify views directly in the browser.
-
Studio Components: Backend entities (models, fields, menus, actions, selections) that define your customizations. These are managed through standard Axelor grid and form views.
-
Generation Engine: Backend services that translate Studio definitions into runtime metadata (XML views, actions, menus) used by the Axelor framework.
All Studio-created components are stored as metadata in the database. No database schema migration is required for custom models — they use JSON-based storage via MetaJsonModel and MetaJsonField.
Feature Overview
Studio is organized into several functional areas, accessible from the App menu:
Visual View Builder
The core of Studio is a drag-and-drop form designer that allows you to create and modify views directly in the browser.
-
Custom model mode: Create entirely new data models with custom forms
-
View extension mode: Add custom fields and panels to existing application views
See Visual View Builder for the complete guide.
Studio Components
Under App > Studio components, you can manage the building blocks of your customizations:
-
Custom Models — Create new data models (entities) with their own forms and menus, stored as JSON-based definitions
-
Custom Fields — Add fields of various types (text, number, date, relational) to existing models without modifying source code
-
Menus — Create and organize menu entries with icons, permissions, and conditions to navigate to your custom views
-
Actions — Define business logic through five action types: create records, update data, run scripts, open views, or send emails
-
Selections — Manage selection lists (dropdowns) with custom values, colors, and icons
Reporting
Under App > Reporting, you can build visual reports:
-
Charts — Create charts from your data with 11 chart types (bar, line, pie, donut, radar, gauge, and more)
-
Dashboards — Assemble charts, grids, and custom views into dashboard pages
Configuration
Under App > Configuration:
-
Studio Apps — Package your customizations into applications that can be installed, exported, and imported (requires
enableStudioApp) -
Custom Actions — Create low-level XML-based actions with full control over action definitions
-
App Loaders — Import and export Studio Apps as files for deployment across environments (requires
enableStudioApp) -
Configuration — Configure Studio behavior (enable/disable App grouping, web service tracking)
Apps Management
Under Administration > Apps management:
-
Apps Management — Central hub for installing, uninstalling, and configuring all applications (both standard and custom)
Key Concepts
Custom vs. Standard Models
Studio works with two types of data models:
| Aspect | Custom Models (JSON) | Standard Models (XML) |
|---|---|---|
Created by |
Studio interface |
Application source code |
Storage |
JSON fields in |
Database tables defined by XML domain files |
Schema migration |
Not required |
Required (via Gradle build) |
Studio capabilities |
Full control: create, modify, delete |
Extend only: add custom fields, modify views |
Entity |
|
|
| Custom models are ideal for rapid prototyping and business-specific entities. Use standard models when you need database-level constraints, indexing, or complex relationships. |
Conditional Expressions
Studio uses conditional expressions to control field visibility and behavior. These expressions allow you to show, hide, or make fields required based on other field values.
See Conditional Expressions for syntax and examples.
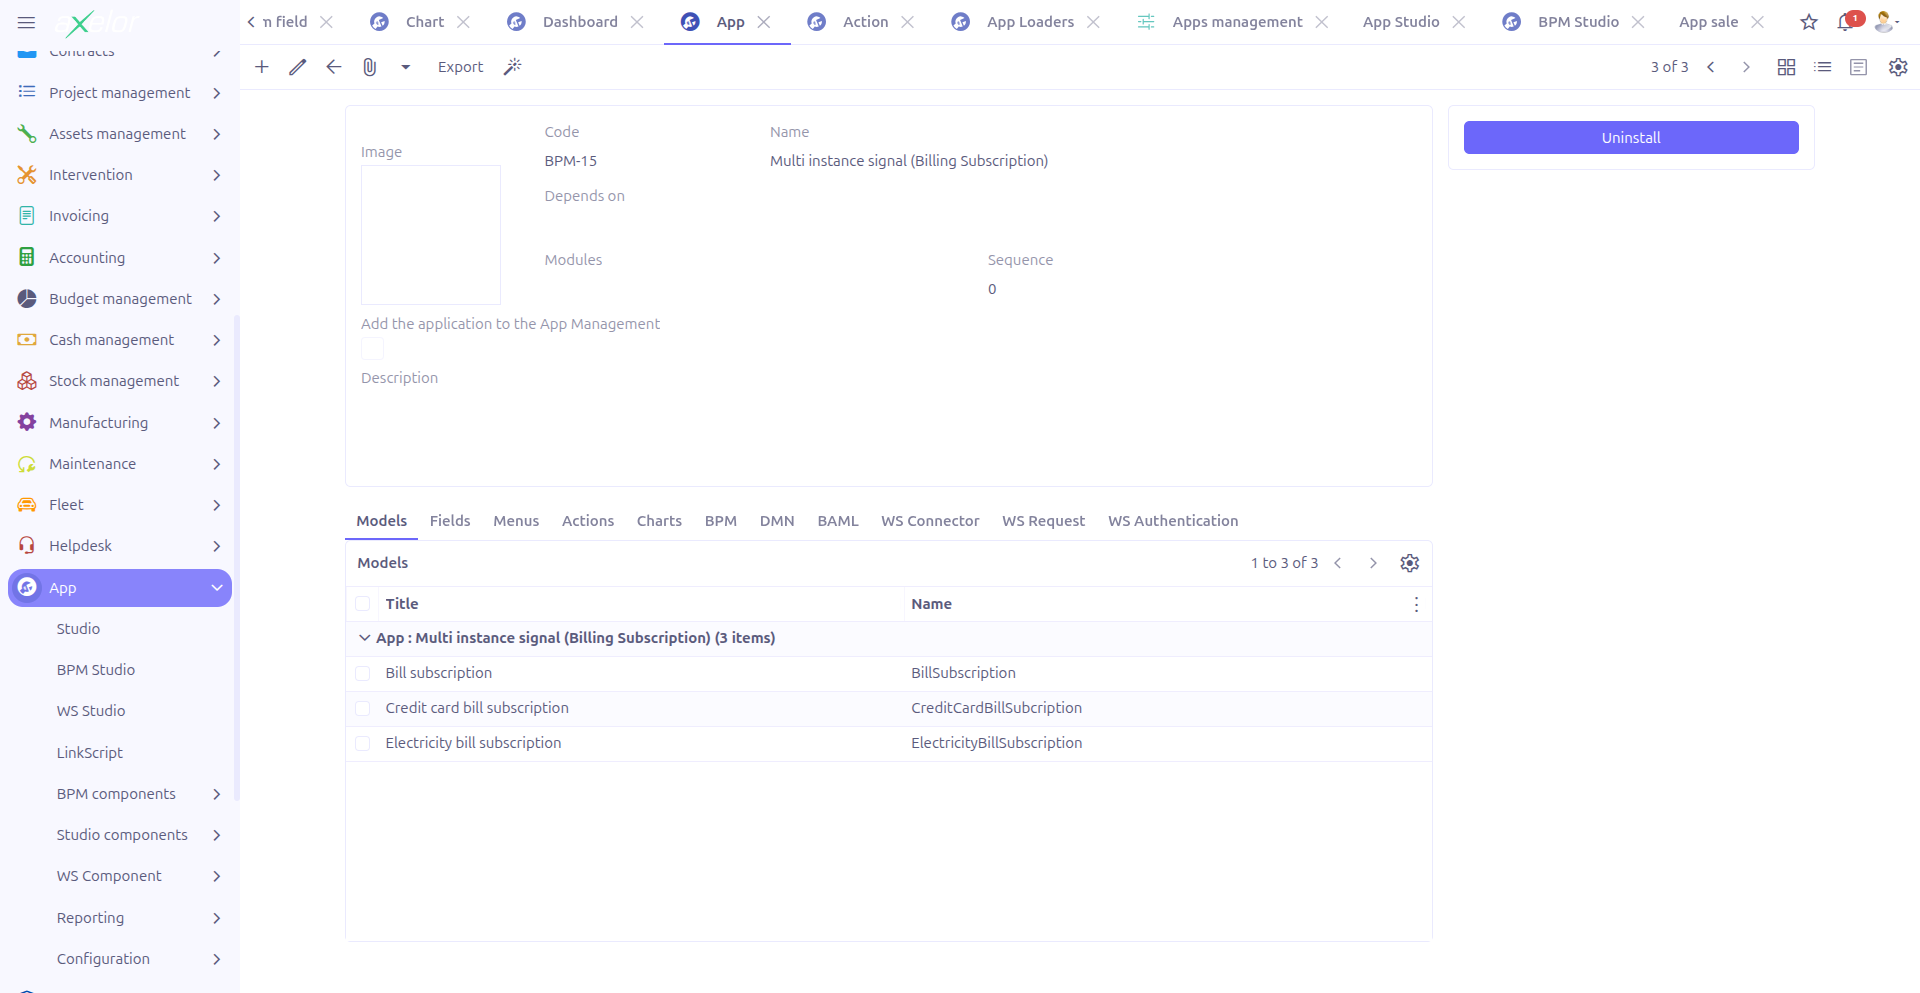
Studio App Packaging
When the Studio App feature is enabled (via Configuration), all Studio components (models, fields, menus, actions, charts, dashboards) can be grouped under a Studio App. This allows you to:
-
Package related customizations together
-
Export and import customizations across environments
-
Manage the lifecycle (install, uninstall, delete) of your custom applications
-
View all related components from a single place
See Studio Apps and App Loaders for details.
Menu Structure
The following table shows the complete menu hierarchy for Studio features:
| Menu Path | Description | Documentation |
|---|---|---|
App > Studio |
Opens the Visual View Builder |
|
App > Studio components > Models |
Custom model management |
|
App > Studio components > Fields |
Custom field management |
|
App > Studio components > Menus |
Menu management |
|
App > Studio components > Actions |
Action management |
|
App > Studio components > Selections |
Selection list management |
|
App > Reporting > Charts |
Chart creation and management |
|
App > Reporting > Dashboards |
Dashboard creation and management |
|
App > Configuration > Apps |
Studio App management (requires |
|
App > Configuration > Custom actions |
Low-level custom action editing |
|
App > Configuration > App Loaders |
Import/export Studio Apps (requires |
|
Administration > Apps management |
Central application lifecycle management |
The Apps, App Loaders, and Studio App-related fields on component forms are only visible when the enableStudioApp option is active. See Configuration to enable it.
|